Long-Term Memory Settings in Pieces Desktop
Manage long-term memory preferences, app access control, system permissions, and stored data.
Long-Term Memory Settings
Manage long-term memory preferences and data. Configure the Long-Term Memory Engine, control which applications Pieces can access, manage system permissions, optimize performance, and clear stored data.
To access Long-Term Memory settings, click your User Profile in the top left, then hover over Settings and select Long-Term Memory.

Long-Term Memory settings showing Memory Formation, Performance, and Stored Data sections
Memory Formation
Configure how the Long-Term Memory Engine captures and processes your workflow context. The Long-Term Memory (LTM-2.7) Engine uses on-device machine learning to auto-generate Workstream Activities and provide temporal context for your Conversational Search.
Long-Term Memory Engine
Toggle the Long-Term Memory Engine on or off to control whether Pieces captures and uses your workflow context.
App Access Control
Manage which applications the Long-Term Memory Engine interacts with. This allows you to control what data sources Pieces uses when capturing workflow context.
Proactive App Deny List
Block applications from Long-Term Memory before Pieces ever captures data from them. This is useful for applications that handle sensitive information, such as password managers, banking apps, healthcare portals, or HR systems.
Unlike standard App Access Control, which manages apps Pieces has already seen, the deny list lets you preemptively block any app on your system so Pieces never captures data from it in the first place.
System Permissions
Manage accessibility and screen permissions for the Long-Term Memory Engine. If permissions are not already enabled, you can provide the necessary permissions to Pieces.
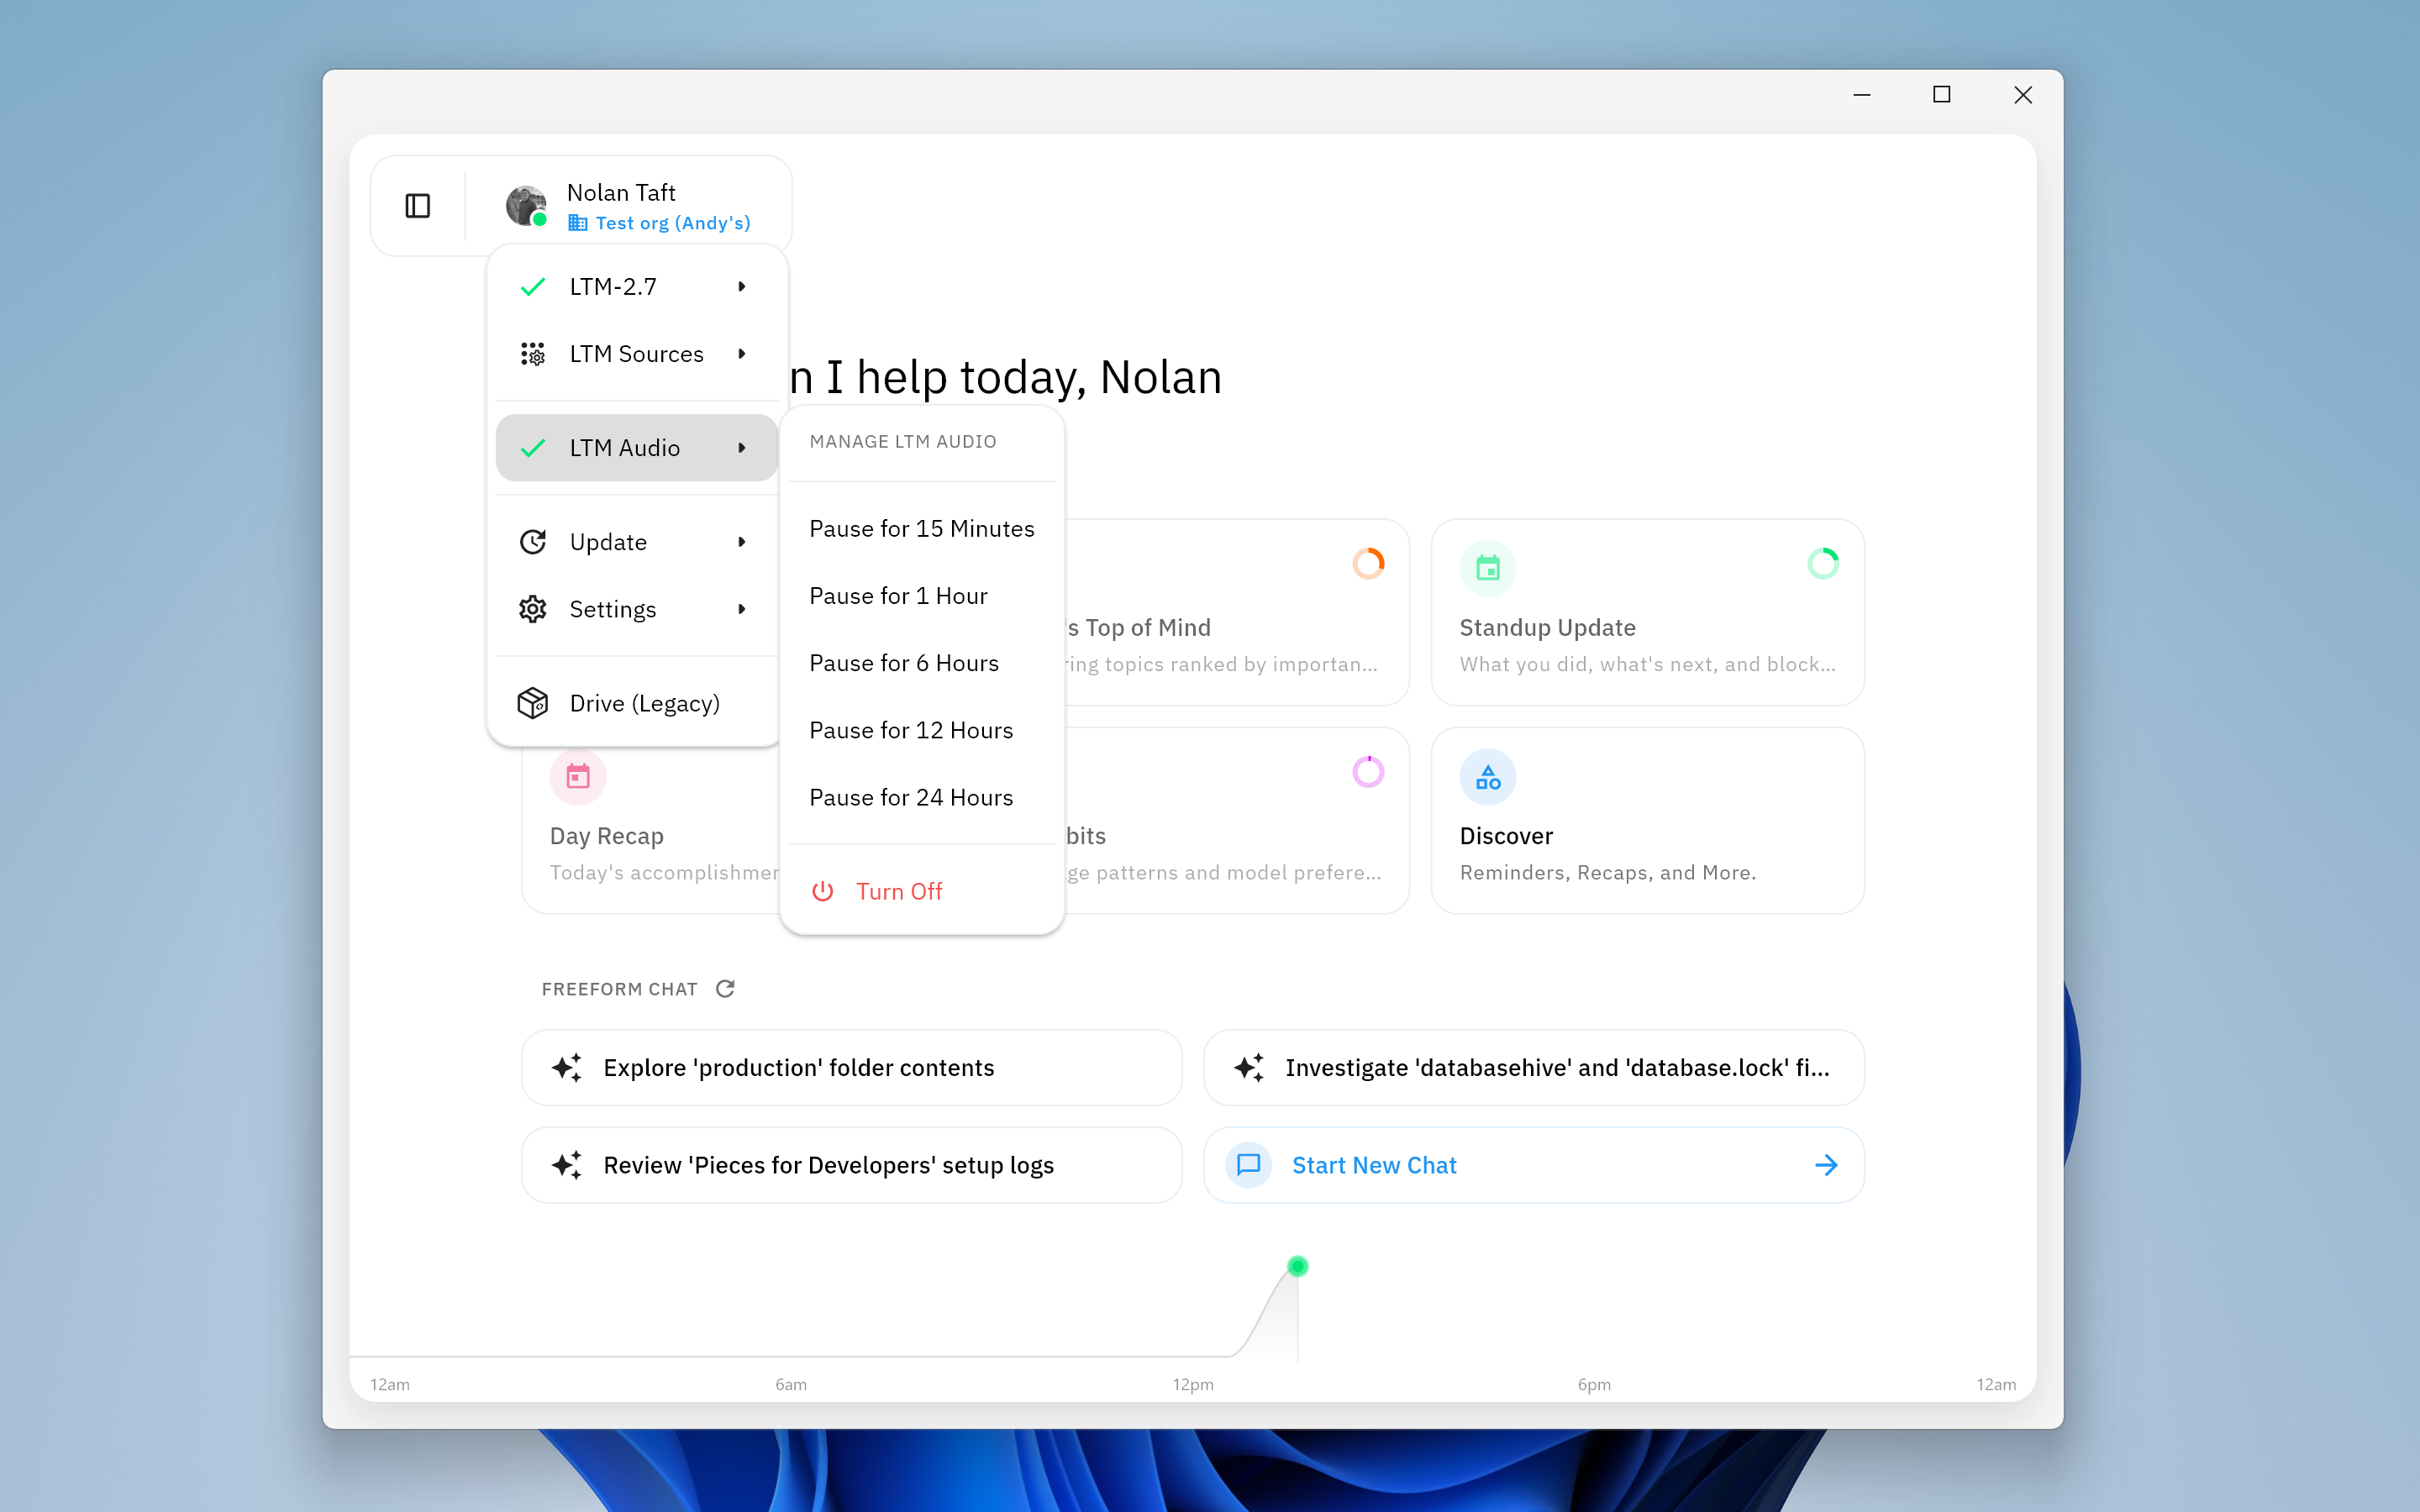
LTM Audio
LTM Audio, also known as Audio Ingestion, enables the Long-Term Memory Engine to capture system audio and microphone input to enhance your workflow context. This feature is currently in Preview and requires platform-specific permissions.
> LTM Audio setup on macOS

First-time users will see a yellow warning indicator on the `Enable LTM Audio` option when they open their `User Profile` in the top left. Click the `warning indicator` to open the permissions dialog and grant the required access.

<Steps>
  <Step title="Open Permissions Dialog">
    Click your `User Profile` in the top left. If you see a yellow warning indicator, click it to open the "Some Permissions Are Missing" dialog. Otherwise, go to *Settings* → *Long-Term Memory* → *Long-Term Memory Permissions*.
  </Step>

  <Step title="Grant System Audio Capture">
    In the permissions dialog, locate "System Audio Capture" and click the `Allow` button. This opens the macOS *Privacy & Security* → *Screen & System Audio Recording* settings.
  </Step>

  <Step title="Add Pieces OS to System Audio Recording">
    In the *System Audio Recording Only* section at the bottom, click the `+` button. Navigate to *Applications* in Finder and select `Pieces OS`. The system will prompt you to restart Pieces OS—choose `Quit & Reopen`.
  </Step>

  <Step title="Grant Microphone Access">
    After restarting, the permissions dialog will prompt you to grant Microphone Access. Click the `Allow` button for "Microphone Access" to open the macOS *Privacy & Security* → *Microphone* settings.
  </Step>

  <Step title="Enable Microphone for Pieces OS">
    In the Microphone settings, find `Pieces OS` and turn the toggle on. Choose `Quit & Reopen` when prompted to restart Pieces OS.
  </Step>

  <Step title="Enable LTM Audio">
    Once permissions are granted, click your `User Profile` in the top left and click `Enable LTM Audio` to turn the feature on. Alternatively, click the `PiecesOS` icon in your menu bar to open the dropdown, scroll to *LTM Audio*, and enable it there.
  </Step>
</Steps>

<Callout type="info">
  LTM Audio is a *Preview* feature. You must grant both System Audio Capture and Microphone Access, then restart Pieces OS after each permission change, before the feature can be enabled.
</Callout>
> LTM Audio setup on Windows

On Windows, LTM Audio prompts for microphone permission only. Accept the prompt and the feature is enabled—no system audio capture or restart required.

Enable LTM Audio from your `User Profile` in the top left, or from the PiecesOS icon in your system tray—click it to open the dropdown, scroll to *LTM Audio*, and toggle it on.

**If you skipped the initial permission prompt**

You can grant microphone access through Windows Settings:

<Steps>
  <Step title="Open Settings">
    Press `Win + I` or click the `Start` button and select `Settings`.
  </Step>

  <Step title="Navigate to Microphone settings">
    Go to `Privacy & Security` (Windows 11) or `Privacy` (Windows 10), then select `Microphone`.
  </Step>

  <Step title="Enable microphone for Pieces OS">
    Turn on *Microphone access* if it is off. Find `Pieces OS` in the list of apps and enable the toggle next to it.
  </Step>

  <Step title="Enable LTM Audio">
    Restart Pieces if it was open, then enable *LTM Audio* from your `User Profile` or the `PiecesOS` system tray dropdown.
  </Step>
</Steps>

<Callout type="info">
  LTM Audio is a *Preview* feature. Accept the microphone permission when prompted to enable the feature.
</Callout>
Once the interfaces are connected, enable LTM Audio from your `User Profile` in the top left, or from the PiecesOS icon in your application tray—click it to open the dropdown, scroll to *LTM Audio*, and toggle it on.

<Callout type="info">
  LTM Audio is a *Preview* feature. Run `pieces-os.doctor` to connect system interfaces before enabling the feature.
</Callout>
Querying Your LTM Audio Context
Once LTM Audio is enabled and you've had meetings or conversations, you can query that audio context in Conversational Search just like any other LTM data. Example queries:
- "What was discussed in yesterday's standup about the blockers on the API migration?"
- "What action items came out of yesterday's sprint planning meeting?"
- "Summarize the key takeaways from today's board meeting."
See the LTM prompting guide for more query strategies.
Performance
Optimize system resources and manage memory usage for the Long-Term Memory Engine.
Optimize System RAM Usage
Unload local machine learning models and resources from memory to free up system resources. This is useful if you need to reduce memory usage or free up resources for other applications.
Stored Data
Manage and clear data captured by the Long-Term Memory Engine. In the Stored Data section, click Clear Long-Term Memory Data... to open the panel, where you can scope deletions by time period, capture method, and application source.
Clearing data is a PiecesOS capability. For the full walkthrough of the Time Periods, Modalities, and App Sources controls, see Clearing Stored LTM Data.
Next Steps
Now that you understand how to manage Long-Term Memory settings, learn how to Choose a Model to switch between model families and modes, or explore Conversational Search to query your workflow memories.