Pieces Copilot — in your IDE
Pieces Copilot brings the power and flexibility of local and cloud-hosted LLMs together with the context-aware Long-Term Memory Engine for intelligent & aware conversations, code documentation, smart debugging, and more.
Accessing Copilot Chat in VS Code
There are three ways to primary ways to access generative AI chats with the Pieces Copilot.
via Right-Click Menu
<Image src="https://storage.googleapis.com/hashnode_product_documentation_assets/vs_code_extension_assets/pieces_copilot/chat/click_on_explain.gif" alt="" align="center" fullwidth="true" />
via Keyboard Shortcuts
You can also open up a dialogue with the Pieces Copilot—specifically the Ask Copilot About Selection option—by using the shortcut ⌘+shift+a (macOS) or ctrl+shift+a (Windows/Linux).

via Command Palette
Open the command palette with ⌘+shift+p (macOS) or ctrl+shift+p (Windows/Linux), and enter commands such as:
Pieces: Ask Copilot About Active File: This function provides insights into the current file open in your VS Code editor.Pieces: Ask Copilot About Selection: Generates suggestions or improvements for the selected code snippet.Pieces: Ask Copilot About Workspace: Offers context-aware assistance across your entire workspace.

Read more about what commands are available in the Pieces for VS Code Extension.
via AI Quick Actions
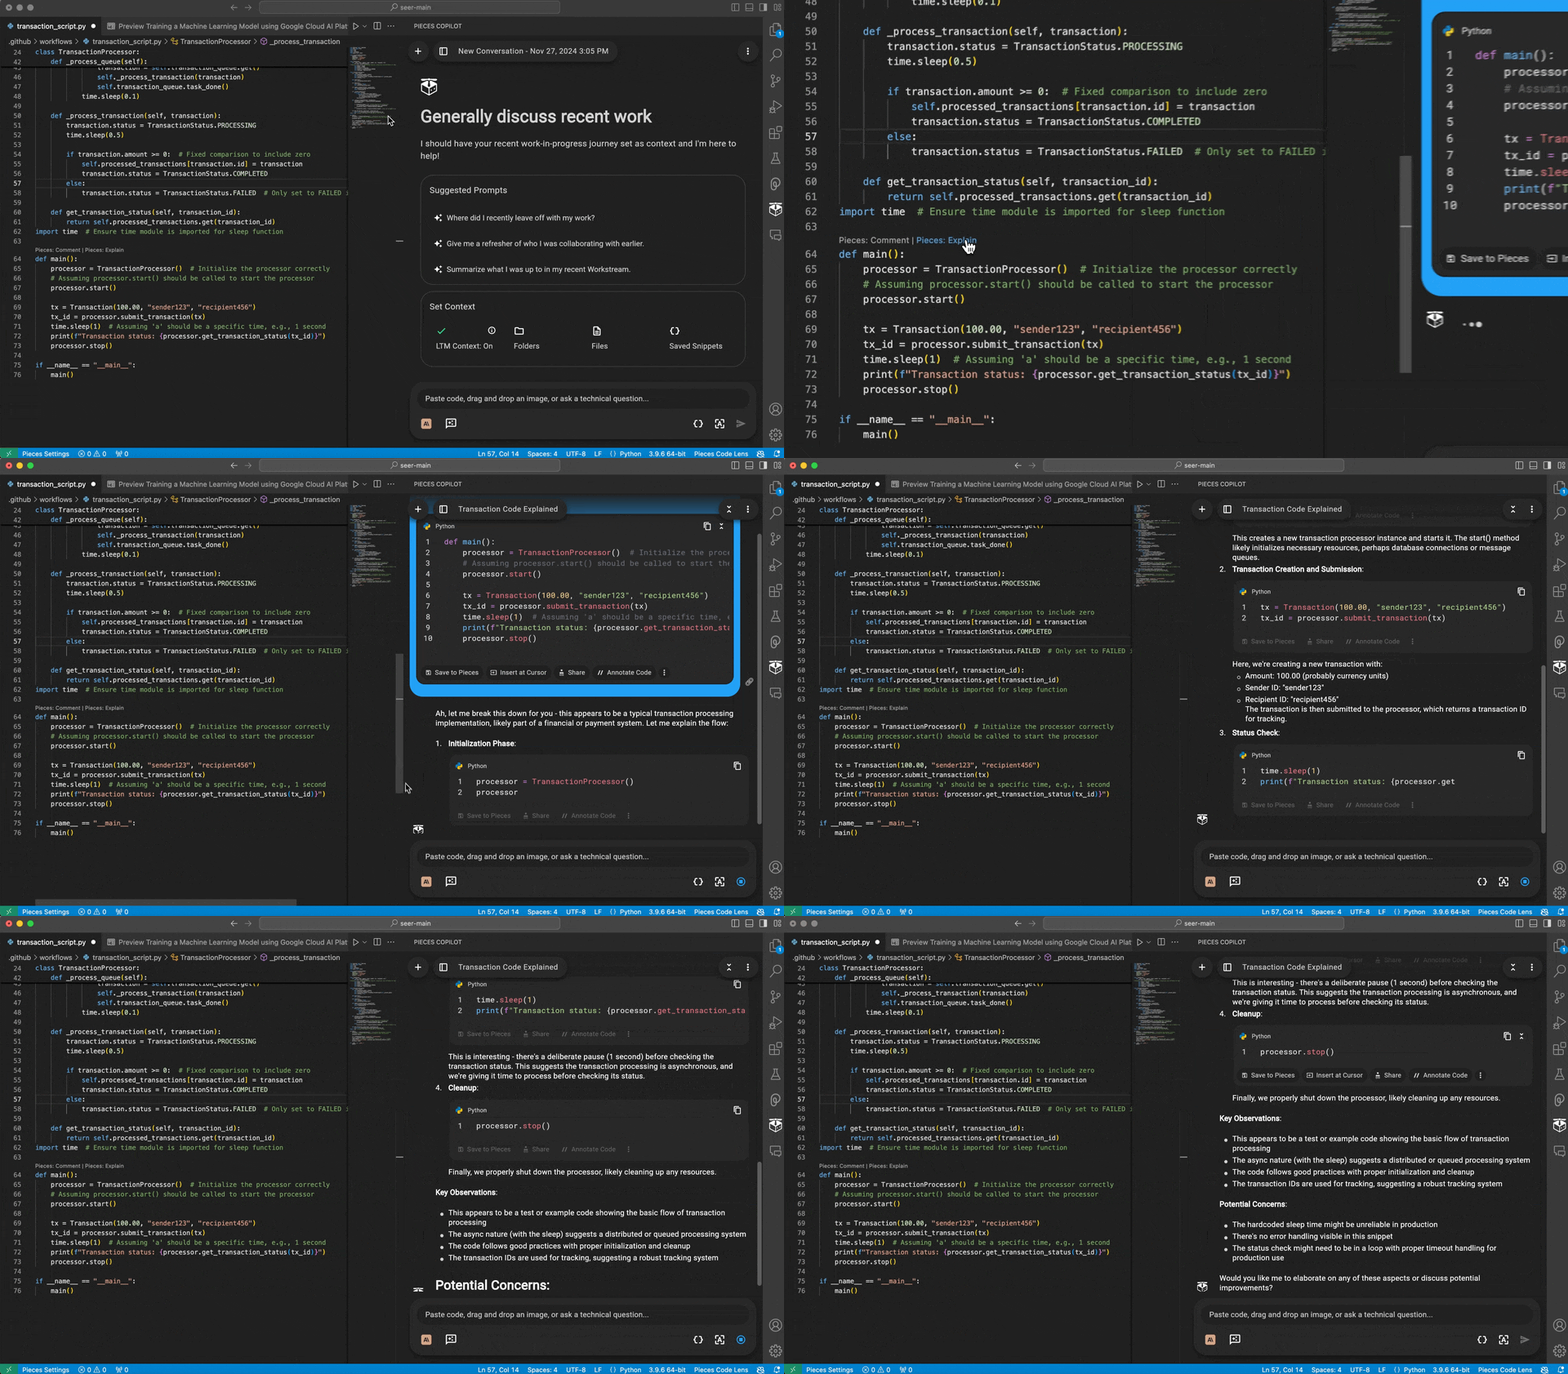
Use the new AI Quick Actions feature in the Pieces for VS Code Extension to quickly get an explanation for a confusing or forgotten function's logic.
Try using the Pieces: Explain tool above your code to start a conversation about a particular function.
This triggers the Copilot Chat window, which outputs an explanation and summary of the code function.

In addition, there is also Pieces: Comment, which you can read more about here.
Contextualized Chats
There are 3 different levels of contextual awareness that you can utilize when initiating a Copilot chat (or adding code to an existing chat) with the Pieces Copilot.
Pieces: Ask Copilot About Selection
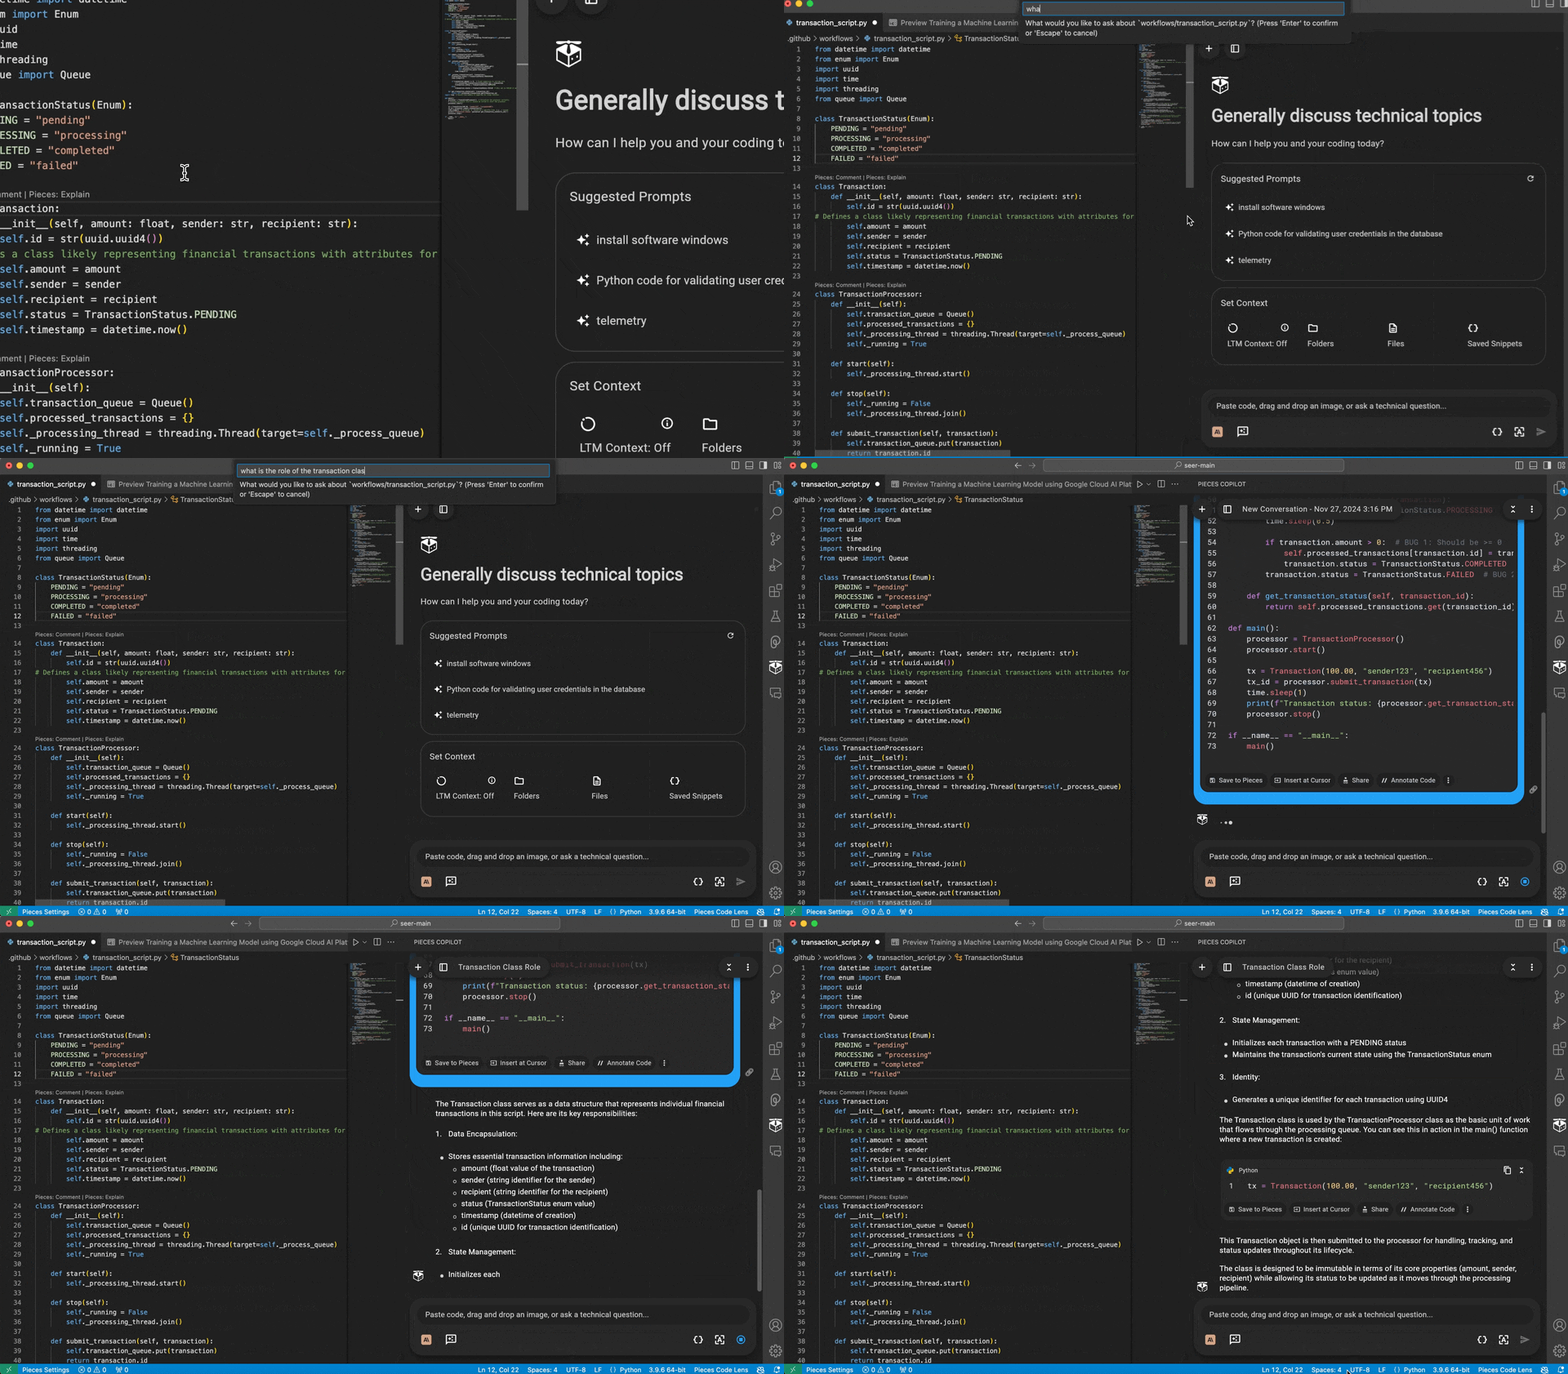
Using the Pieces: Ask Copilot About Selection command lets you interact with Copilot regarding specific code snippets, functions, or classes.
To use this feature:
<Image src="https://storage.googleapis.com/hashnode_product_documentation_assets/cdn_migrate_repair_2/visual_studio_code/contextualized_chats.png" alt="" align="center" fullwidth="true" />
This approach is ideal for localized queries where you need quick insights or guidance on specific code functionality.
Pieces: Ask Copilot About Active File
The Pieces: Ask About Active File feature focuses on the current file, offering tailored insights and assistance with debugging.
There are two ways to access this command:
Right-click inside your file and select the
Ask Copilot about Active File, then enter your query into the dropdown text input field.Open the command palette using
⌘+shift+p(macOS) orctrl+shift+p(Windows/Linux) and enterPieces: Ask About Active File.
Once you've entered your question, the Pieces Copilot will analyze the file's context to deliver precise responses.

This feature is useful for better understanding file dependencies, methods, and structure, detecting potential issues, suggesting improvements, and more.
Pieces: Ask Copilot About Workspace
With the Pieces: Ask Copilot About Workspace command, you can extend the Pieces Copilot’s assistance to fit the project scope.
To use this command:
This is ideal for large projects where a project-wide perspective is needed, specifically for identifying inconsistencies in naming conventions across multiple files, in error handling, or resolving global code redundancies.

Adding Context to Copilot Chats
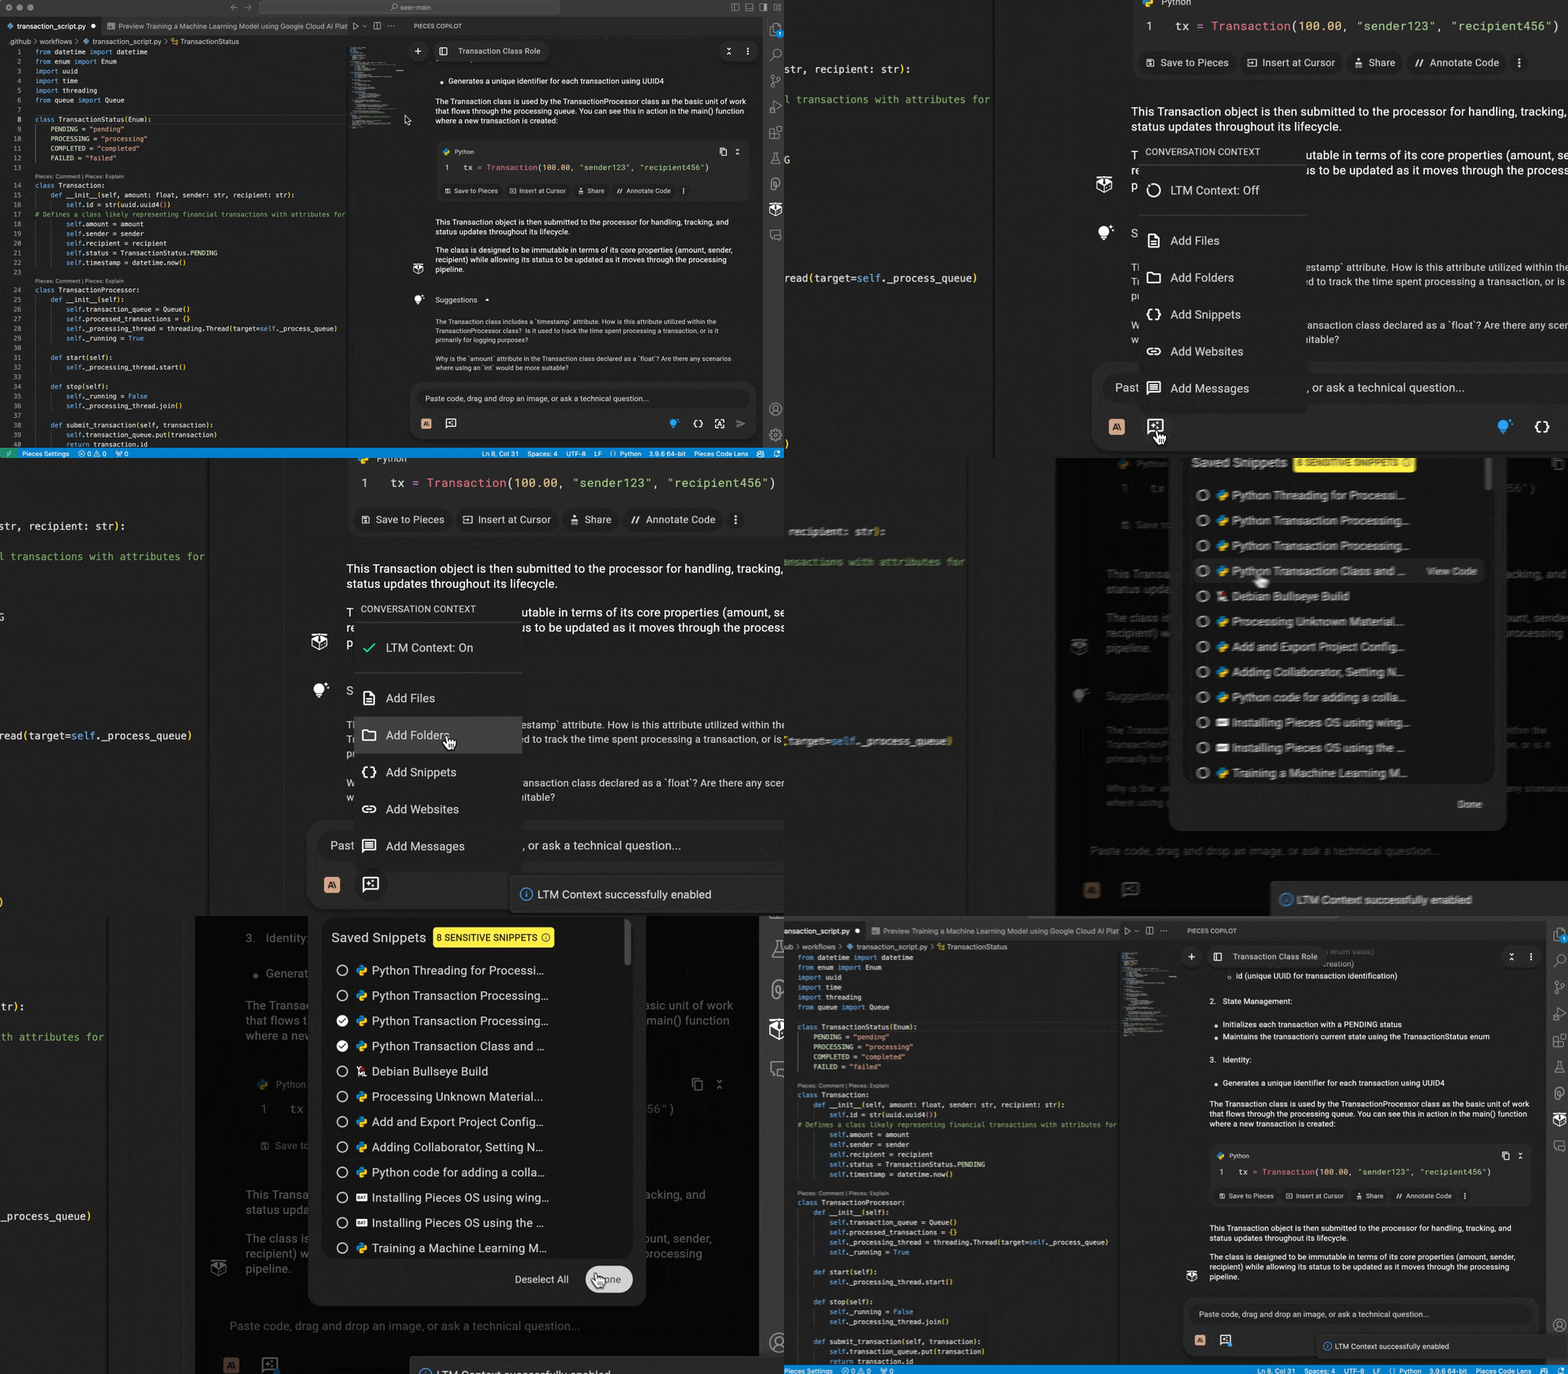
You can add context to a chat by adding Files, Folders, Snippets, Websites, and Messages.
This flexibility comes in handy when items you want to serve as reference material is not directly accessible from VS Code, or if you want to compartmentalize context and minimize overlap by keeping files or folders from other projects separate from your active file’s workflow.
To do this, select the Starred Message Icon in the bottom-left corner of your Copilot Chat window, which is openable from the VS Code sidebar.
Click the Starred Message Icon, then add whatever context items you need.

Adding Code Snippets
You can paste snippets of code as a code block inside any Copilot Chat by clicking the { } icon inside the chat window, then pasting in your code.
This is useful for bringing in code that isn’t present immediately in the active file as context, or for comparisons and suggestions.

Extracting Code from Screenshots
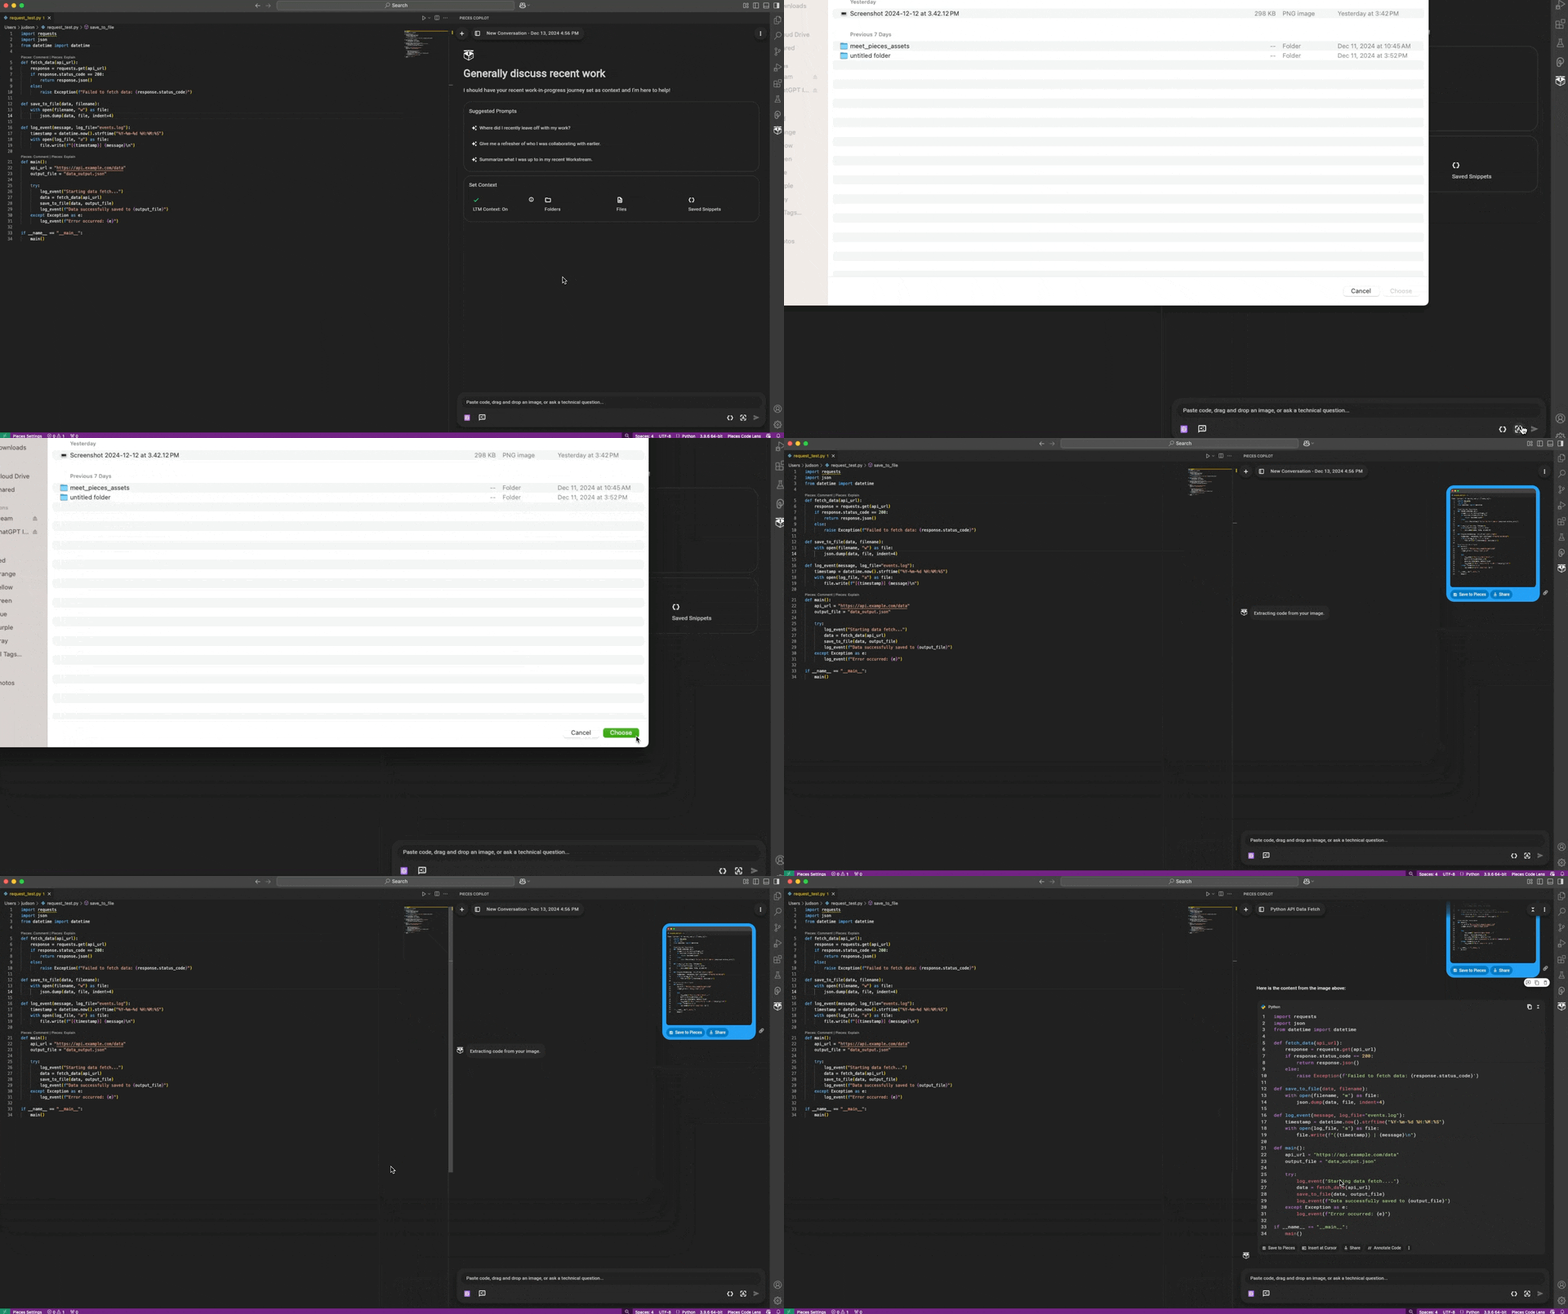
You can also extract code from screenshots directly from the Copilot chat menu by selecting Extract Code from Screenshot, selecting the desired screenshot from your Finder (macOS) or File Explorer (Windows/Linux) menu, and confirming.
Pieces Copilot will then scan the screenshot and generate the code captured from the image into the chat, from which you can copy, insert at your cursor, save it as a snippet, and more.

Adding Folders from File Explorer
Suppose you right-click on a folder or file in your file explorer in VS Code. In that case, you’ll see three options: Pieces: Add to Copilot Context, Pieces: Ask Copilot and Pieces: Save File to Pieces, so you can take any folder in the project you’re working in and immediately have the Pieces Copilot interact with it.

Adding Pieces MCP
Adding the Pieces MCP to VS Code is simple and enables you to perform a wide range of Pieces actions with the GitHub Copilot.
Enter `http://localhost:39300/model_context_protocol/2024-11-05/sse` as the URL for the Pieces MCP server. Once the URL is entered, press `return` (macOS) or `enter` (Windows/Linux).
* `User Settings` — Make the MCP available in any project you work on within VS Code.

* `Workspace Settings` — Save the MCP locally to the current project you’re working on.

After selecting your workspace, VS Code will open a `settings.json` file. You can manually adjust the MCP server in this file. Otherwise, you can close it.
Improving Code Consistency & Standardization
The Pieces Copilot helps improve code quality by identifying inconsistencies and providing actionable suggestions for standardization.
Naming Inconsistencies
If functions across your workspace use inconsistent naming patterns (e.g., authenticateUser in authHandler.go vs. retrieveUserProfile in userHandler.go), Pieces Copilot can suggest adopting a standardized naming convention for better readability and maintainability, like this:
// authHandler.go
func authenticateUser(ctx context.Context, credentials Credentials) (User, error) {
    if credentials.Username == "" || credentials.Password == "" {
        return User{}, errors.New("missing credentials")
    }
}
Inconsistent Error Handling
If error-handling strategies differ across files (e.g., structured errors in authService.go vs. inconsistent handling in userService.go), Pieces Copilot can help unify the approach:
// authService.go
func LoginUser(credentials Credentials) (string, error) {
    token, err := authenticate(credentials)
    if err != nil {
        return "", fmt.Errorf("login failed: %w", err)
    }
    return token, nil
}