Material enrichment & saved metadata in Pieces Drive | Pieces Docs
Enhance and organize your saved code snippets in Pieces Drive with automatic enrichment, metadata, and intuitive editing features.
Managing Materials
After adding your snippets, you’ll want to keep them organized. Pieces Drive streamlines this process by offering automatic enrichment and intuitive editing features.
Editing your Saved Materials
There are several types of saved metadata to make use of, edit, repurpose, and delete—if you want.
Below are the primary methods for managing your materials once they’re in the Pieces Drive:
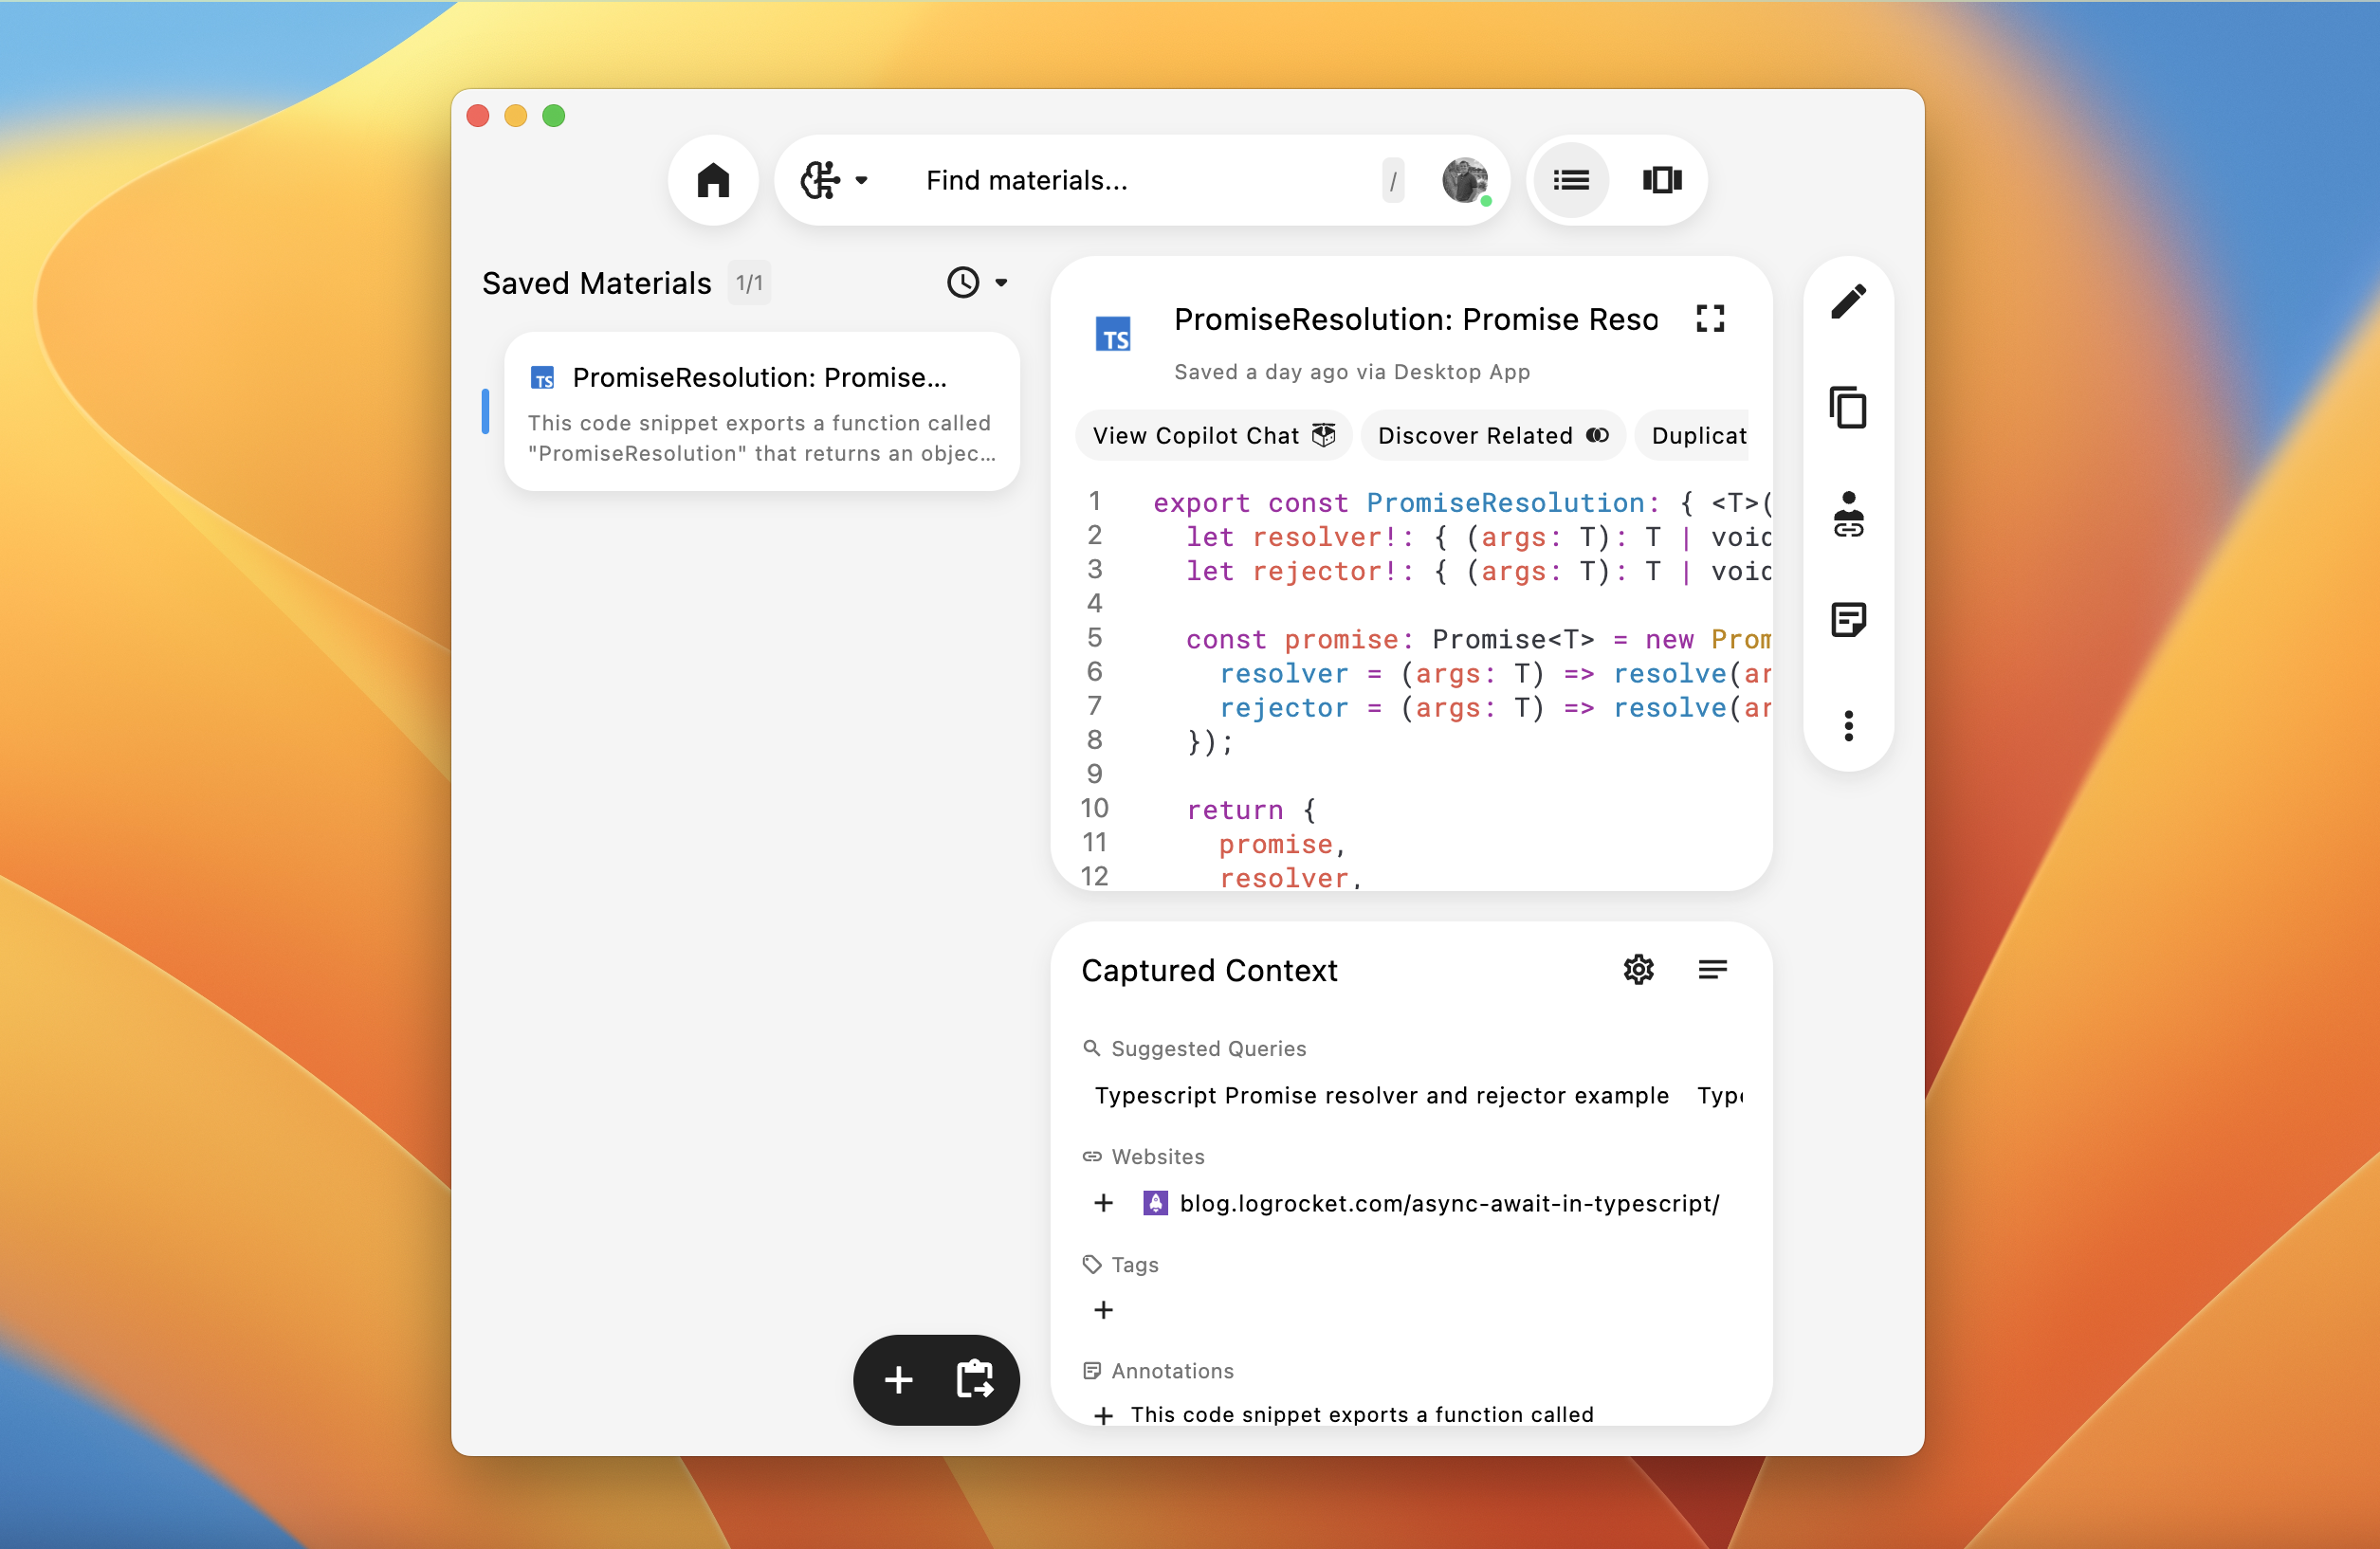
Saved Materials List
Located on the left sidebar, the Saved Materials List displays each of your snippets with titles and notes:
Auto-Generated Titles: Pieces instantly names each snippet based on its contents, so you can see a human-readable summary at a glance.
Annotations: An automatically-generated description of the saved material’s purpose and function.
Click any item to load it in the main detail pane. This is where you’ll see the code or text, along with a wealth of automatically generated context (tags, annotations, etc.).
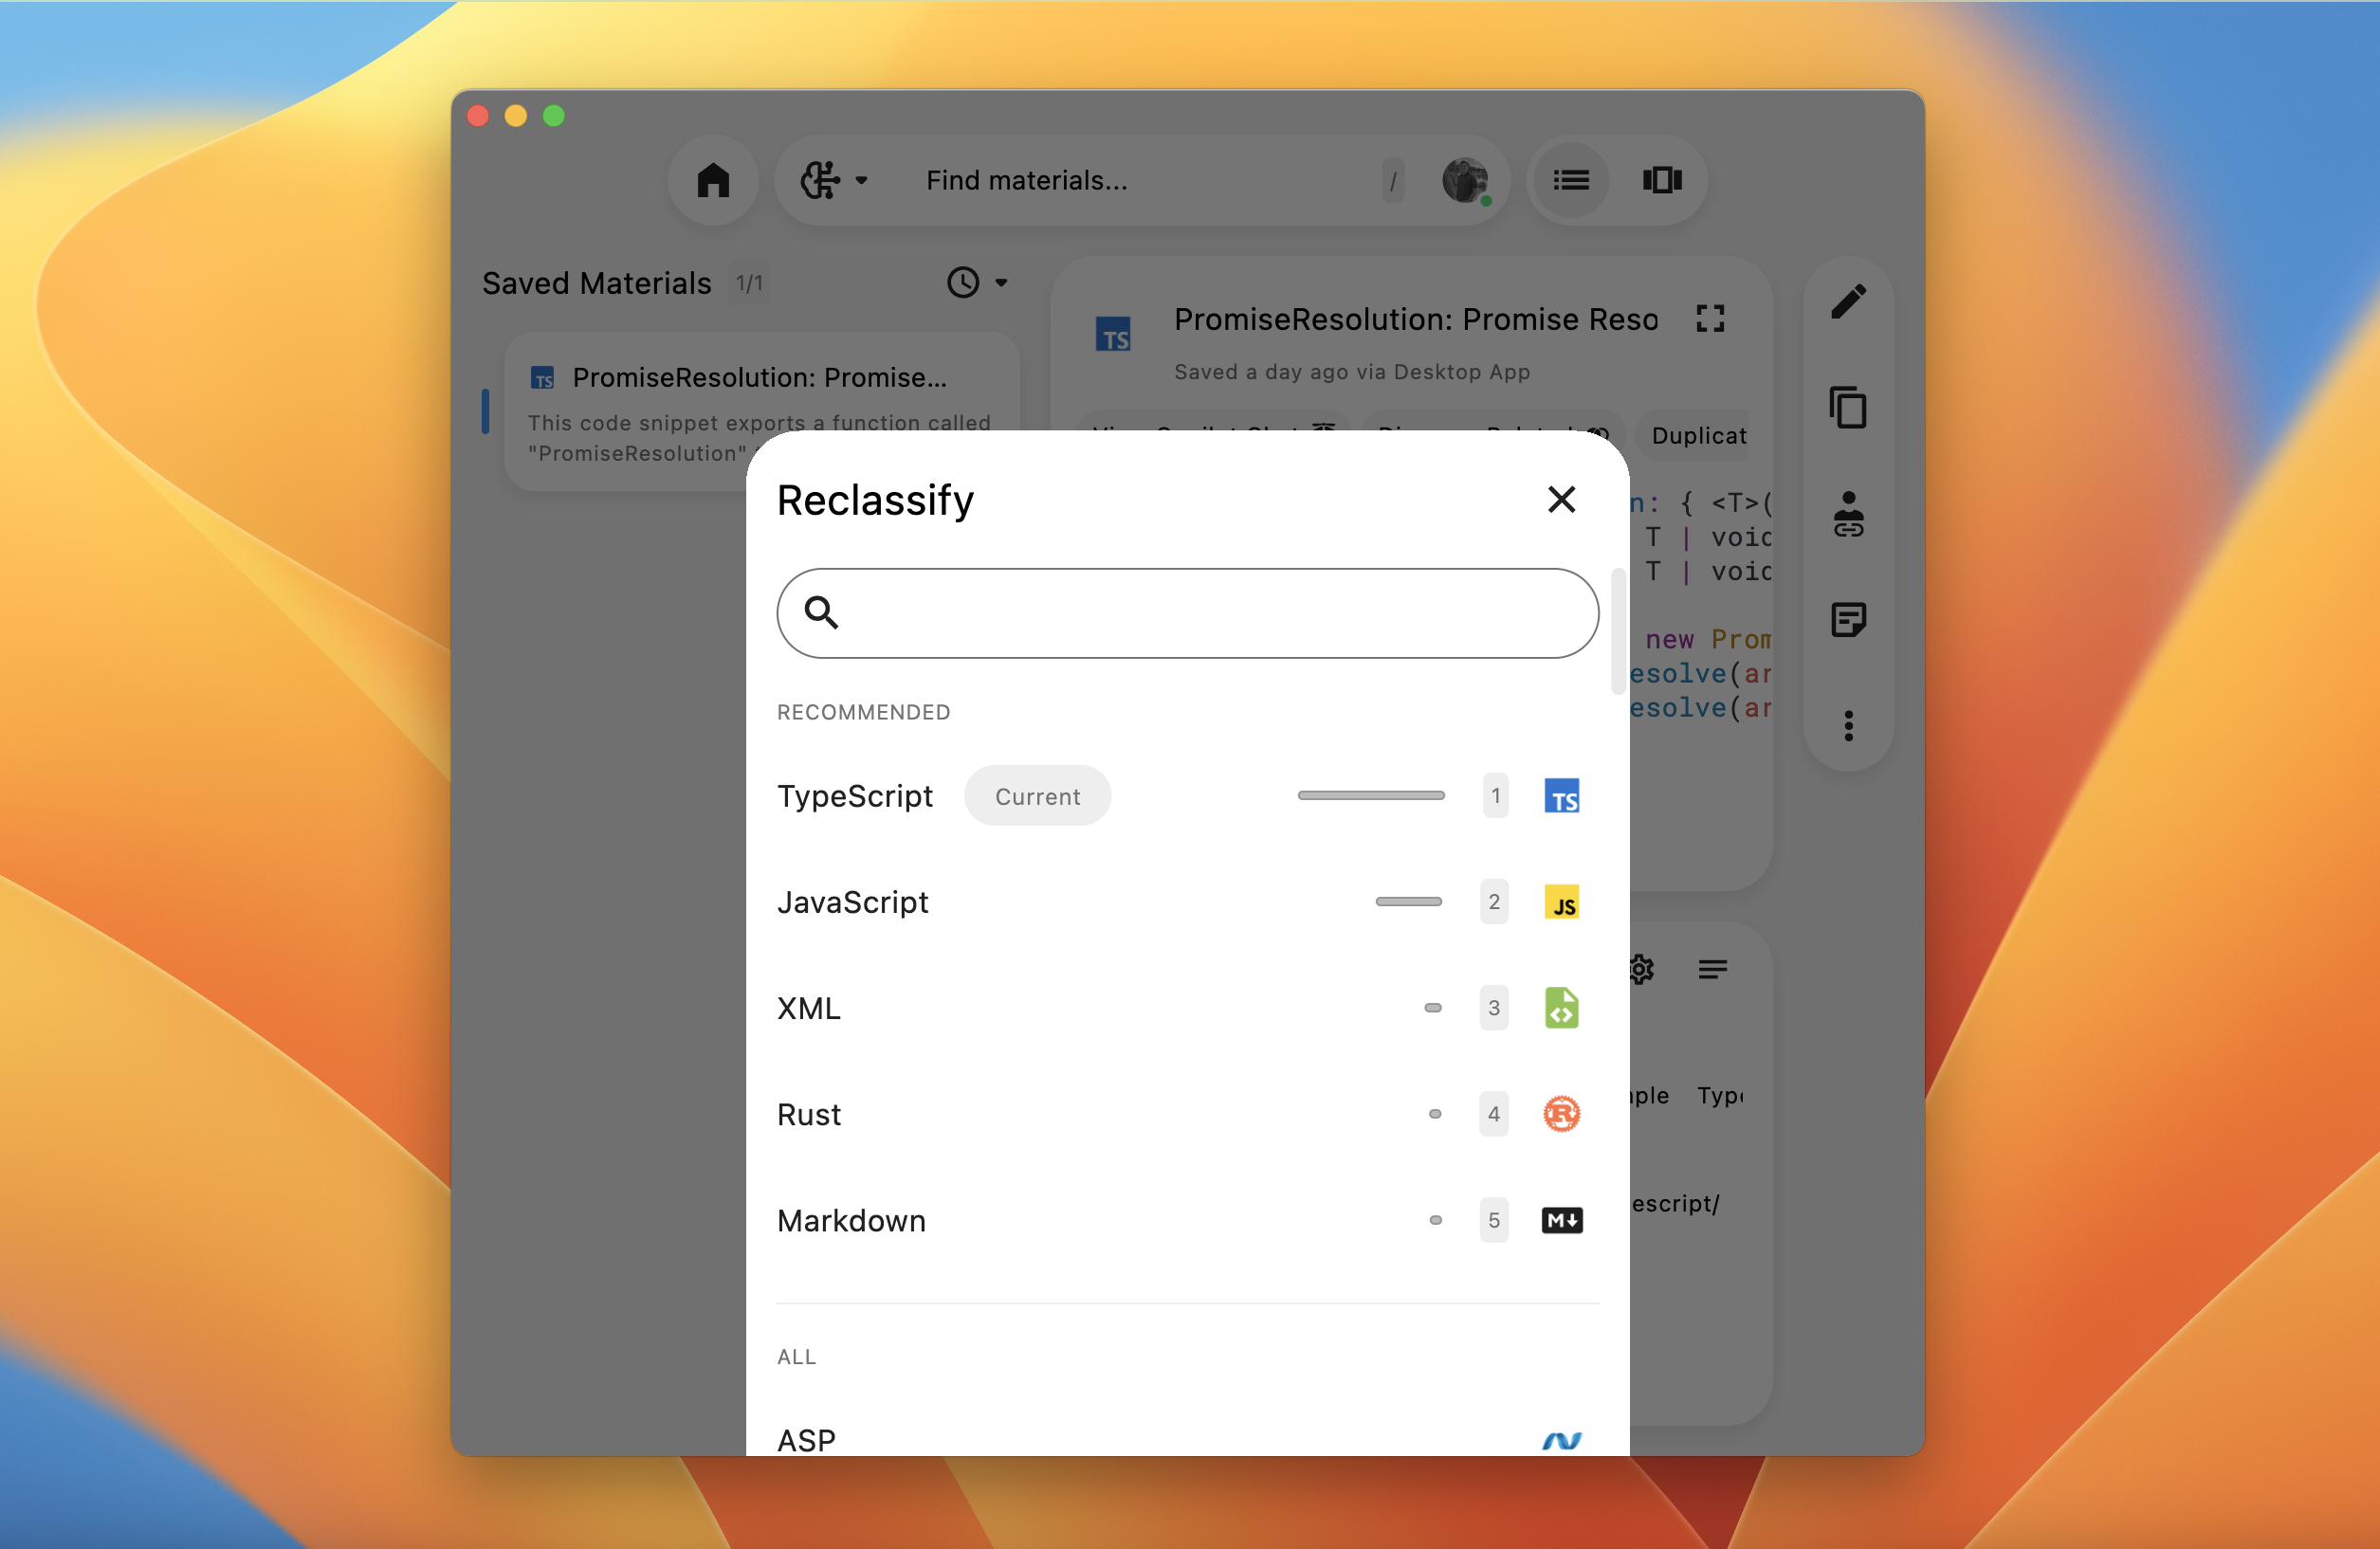
Renaming and Reclassifying
In the detail view, locate the three-dot Quick Menu to reveal actions for customizing your snippet:
Rename: Override the auto-generated title with something that better fits your naming conventions.Reclassify: If Pieces incorrectly detects the code’s language or you’d prefer to classify it differently, you can manually select a new language (e.g., reclassifying JavaScript as TypeScript).
Managing Tags
Tags are a powerful organizational tool. Pieces automatically generates tags based on the snippet’s contents, but you can refine or add your own.
From the Quick Menu click Manage Tags to type new tags or remove existing ones.
Annotations
Annotations act like descriptive notes or documentation entries attached to your snippet.
They’re especially useful if:
Multiple Developers Share the Same Snippet: Add clarifications, usage examples, or important disclaimers.
You Want Version Notes: Document changes or reasons you created a new snippet in the first place.
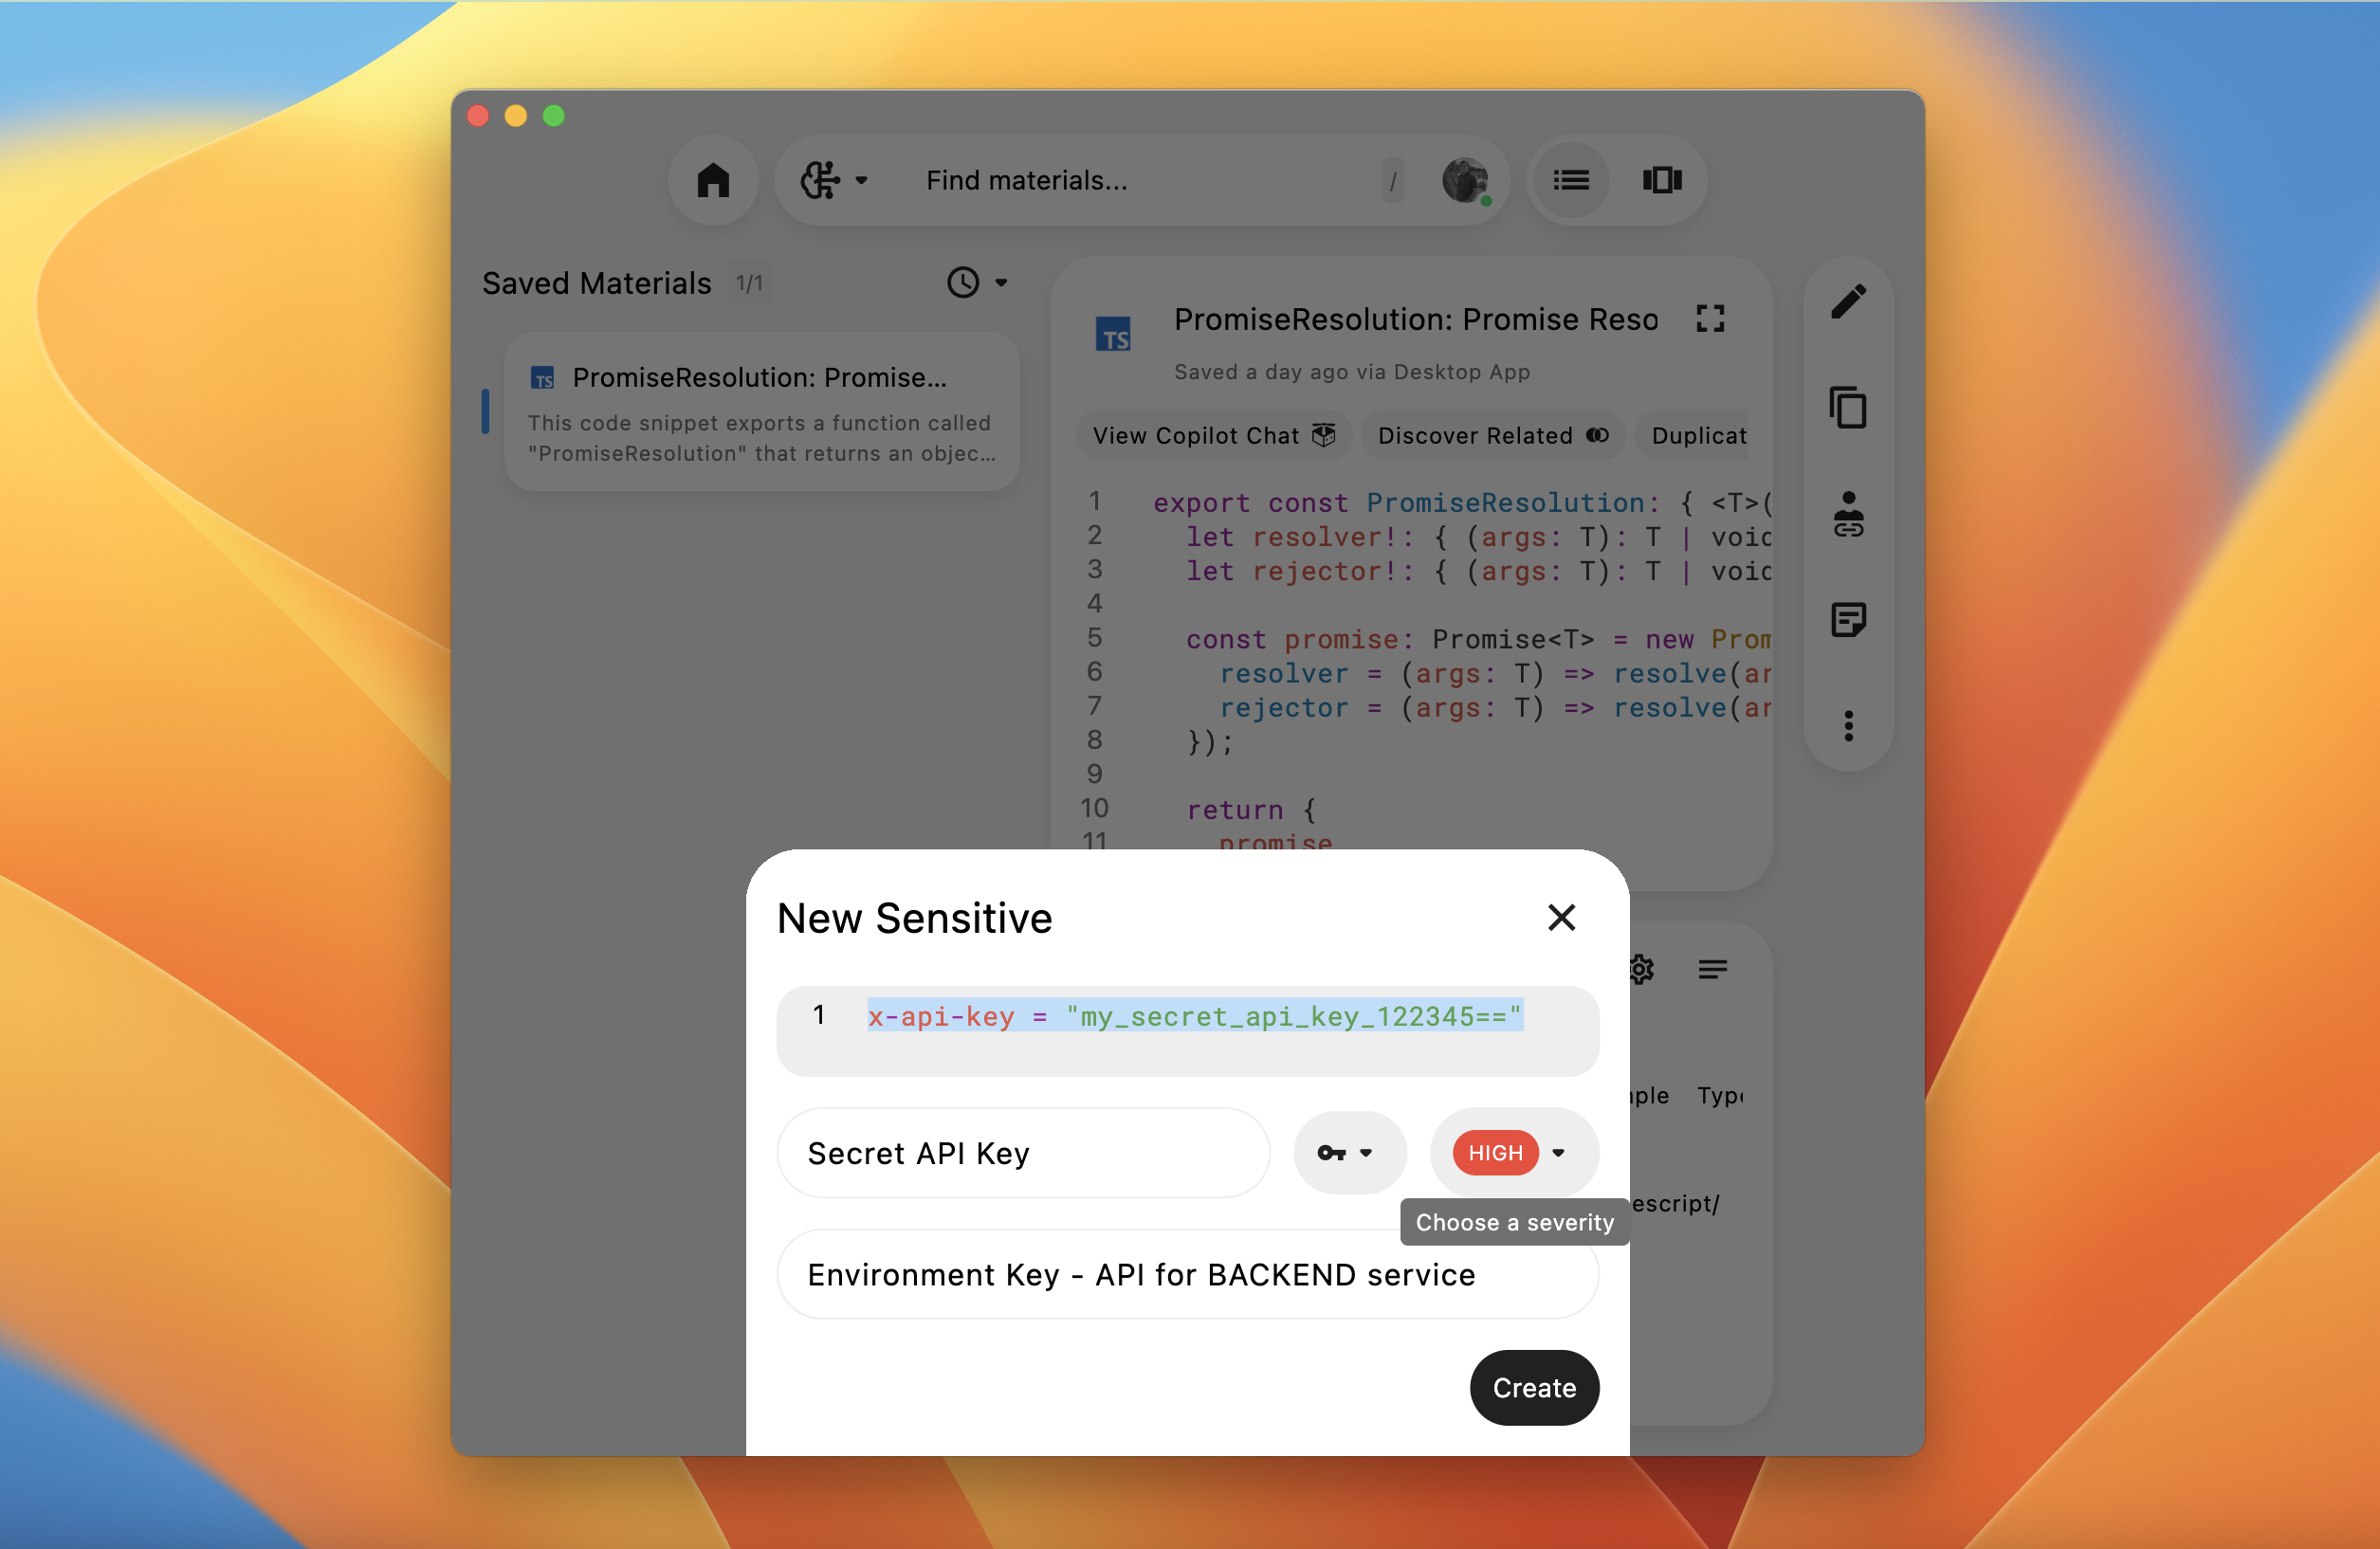
Sensitive Information
If you import a saved material that contains API keys or credentials, Pieces may automatically assign them the Sensitive Information tag.
Pieces prevents accidental leakage by warning you when you generate a shareable link, so you’ve got a heads-up before you share the link with others.
If something isn’t automatically detected, you can still mark something as sensitive manually to add an extra layer of privacy for materials th
Warning Before Sharing: Pieces prevents accidental leakage by warning you when you generate a shareable link.
Manual Entry: You can also mark something as sensitive if it’s not automatically detected. This adds an extra layer of privacy for your team or organization.
Anchors & Related People
Pieces automatically connects the dots between origin location (in terms of files) and related people who may have contributed into the code, and saves it alongside each material.
Anchors: If you want to track exactly where a snippet originated—like a specific file path, repository, or a web link—you can set Anchors in the snippet’s context panel.Related People: Attach team members or collaborators’ names/emails to a snippet, creating a record of who contributed to its creation or usage.
Using the Quick Menu
From within the main detail view of a snippet, the Quick Menu (often represented by three vertical dots or an ellipsis icon) consolidates the most important snippet actions:
Duplicate: Quickly create a second version of the snippet, either exact or transformed.Related Links: See or add relevant URLs (like documentation pages).Manage Annotations: Add new notes or edit existing ones.Sensitive Information: Review or add any recognized keys, tokens, or secrets.Delete: Permanently remove the snippet if it’s no longer needed.