Overview
Saving materials—code snippets, text notes, or entire files—is the foundation of Pieces Drive.
Once saved, these materials are automatically enriched with valuable metadata such as tags, annotations, and suggested links, helping you find and reuse them easily.
Saved Materials List
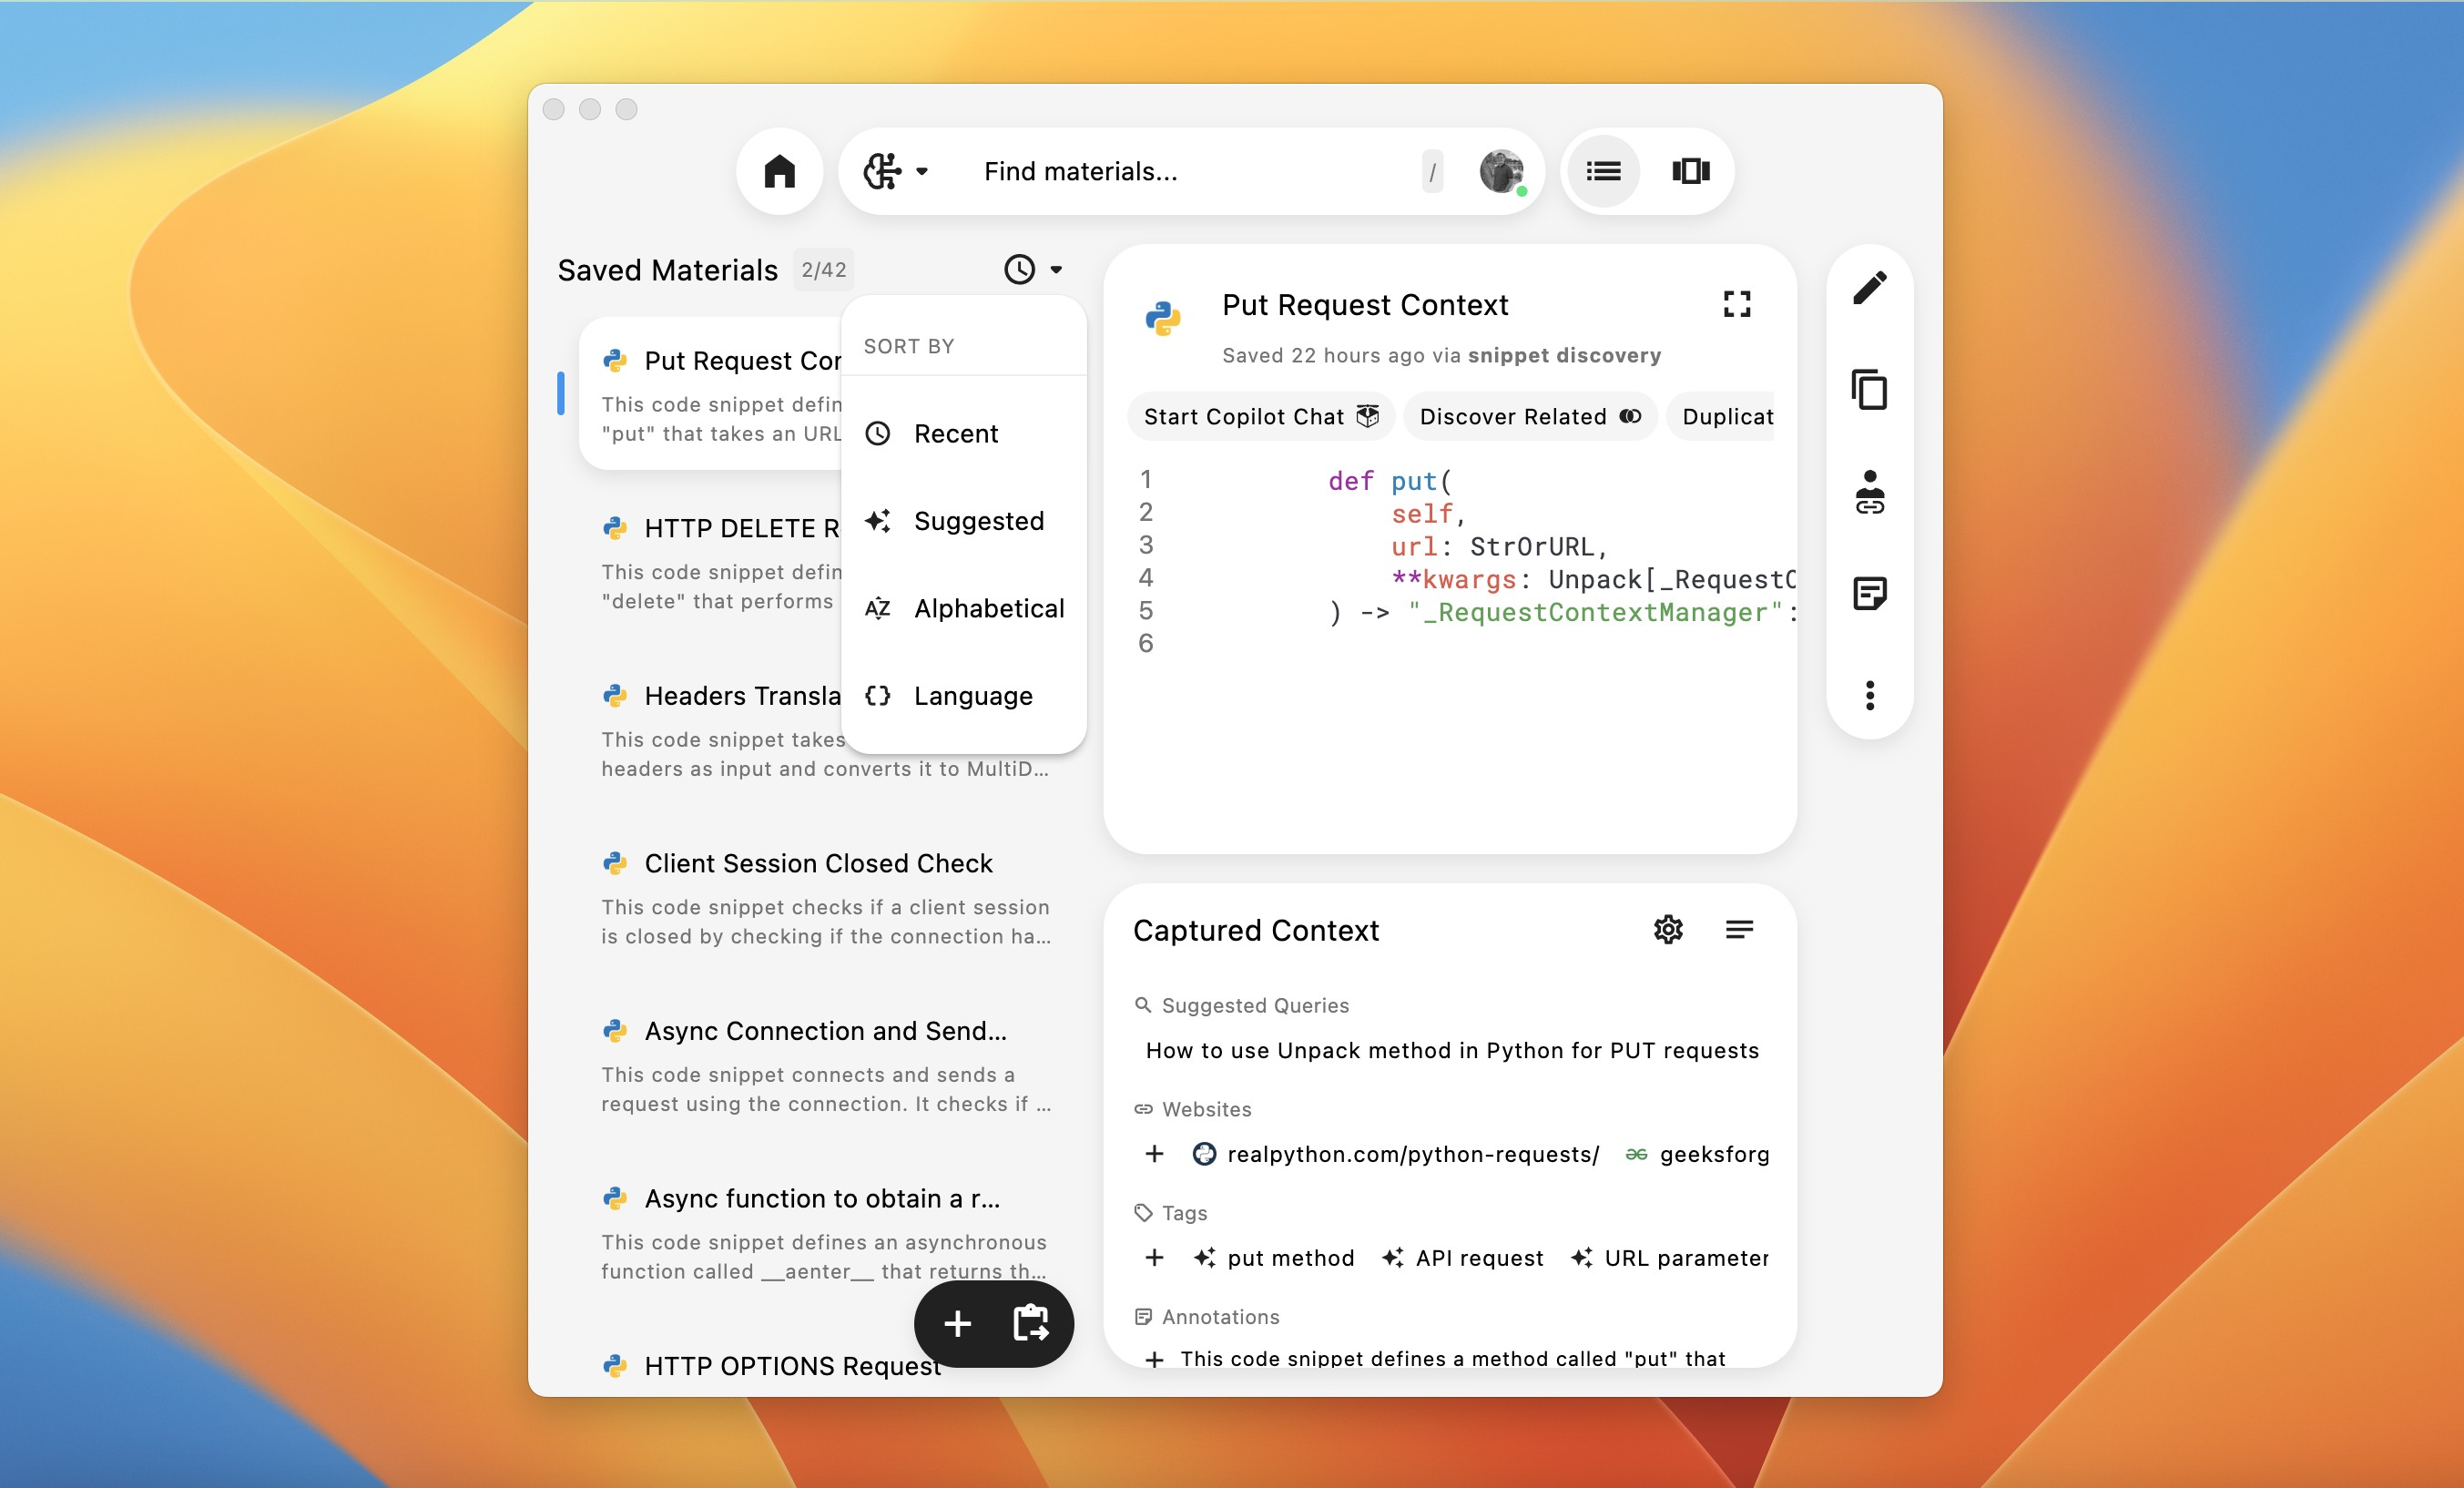
All of your saved materials are listed on the left-hand side of the view.
From this list, you can scroll down to see previous saved materials, or click the Clock icon to sort them in a few different ways:
Recent: Sorts the list of materials by which were most recently used.Suggested: Presents saved materials that are likely to benefit your current workflow, eg., if you’ve been working on API calls in Python, you may see API boilerplate code snippets.Alphabetical: Sorts the list by titles in alphabetically-descending order.Language: Groups saved materials by language—Python, JavaScript, Kotlin, etc.
Adding New Materials
The primary way to add materials to Pieces Drive is through the Add Materials button, located in the bottom-left corner of the Pieces Drive view.
Clicking it opens a modal that presents several distinct options for different workflows and preferences.
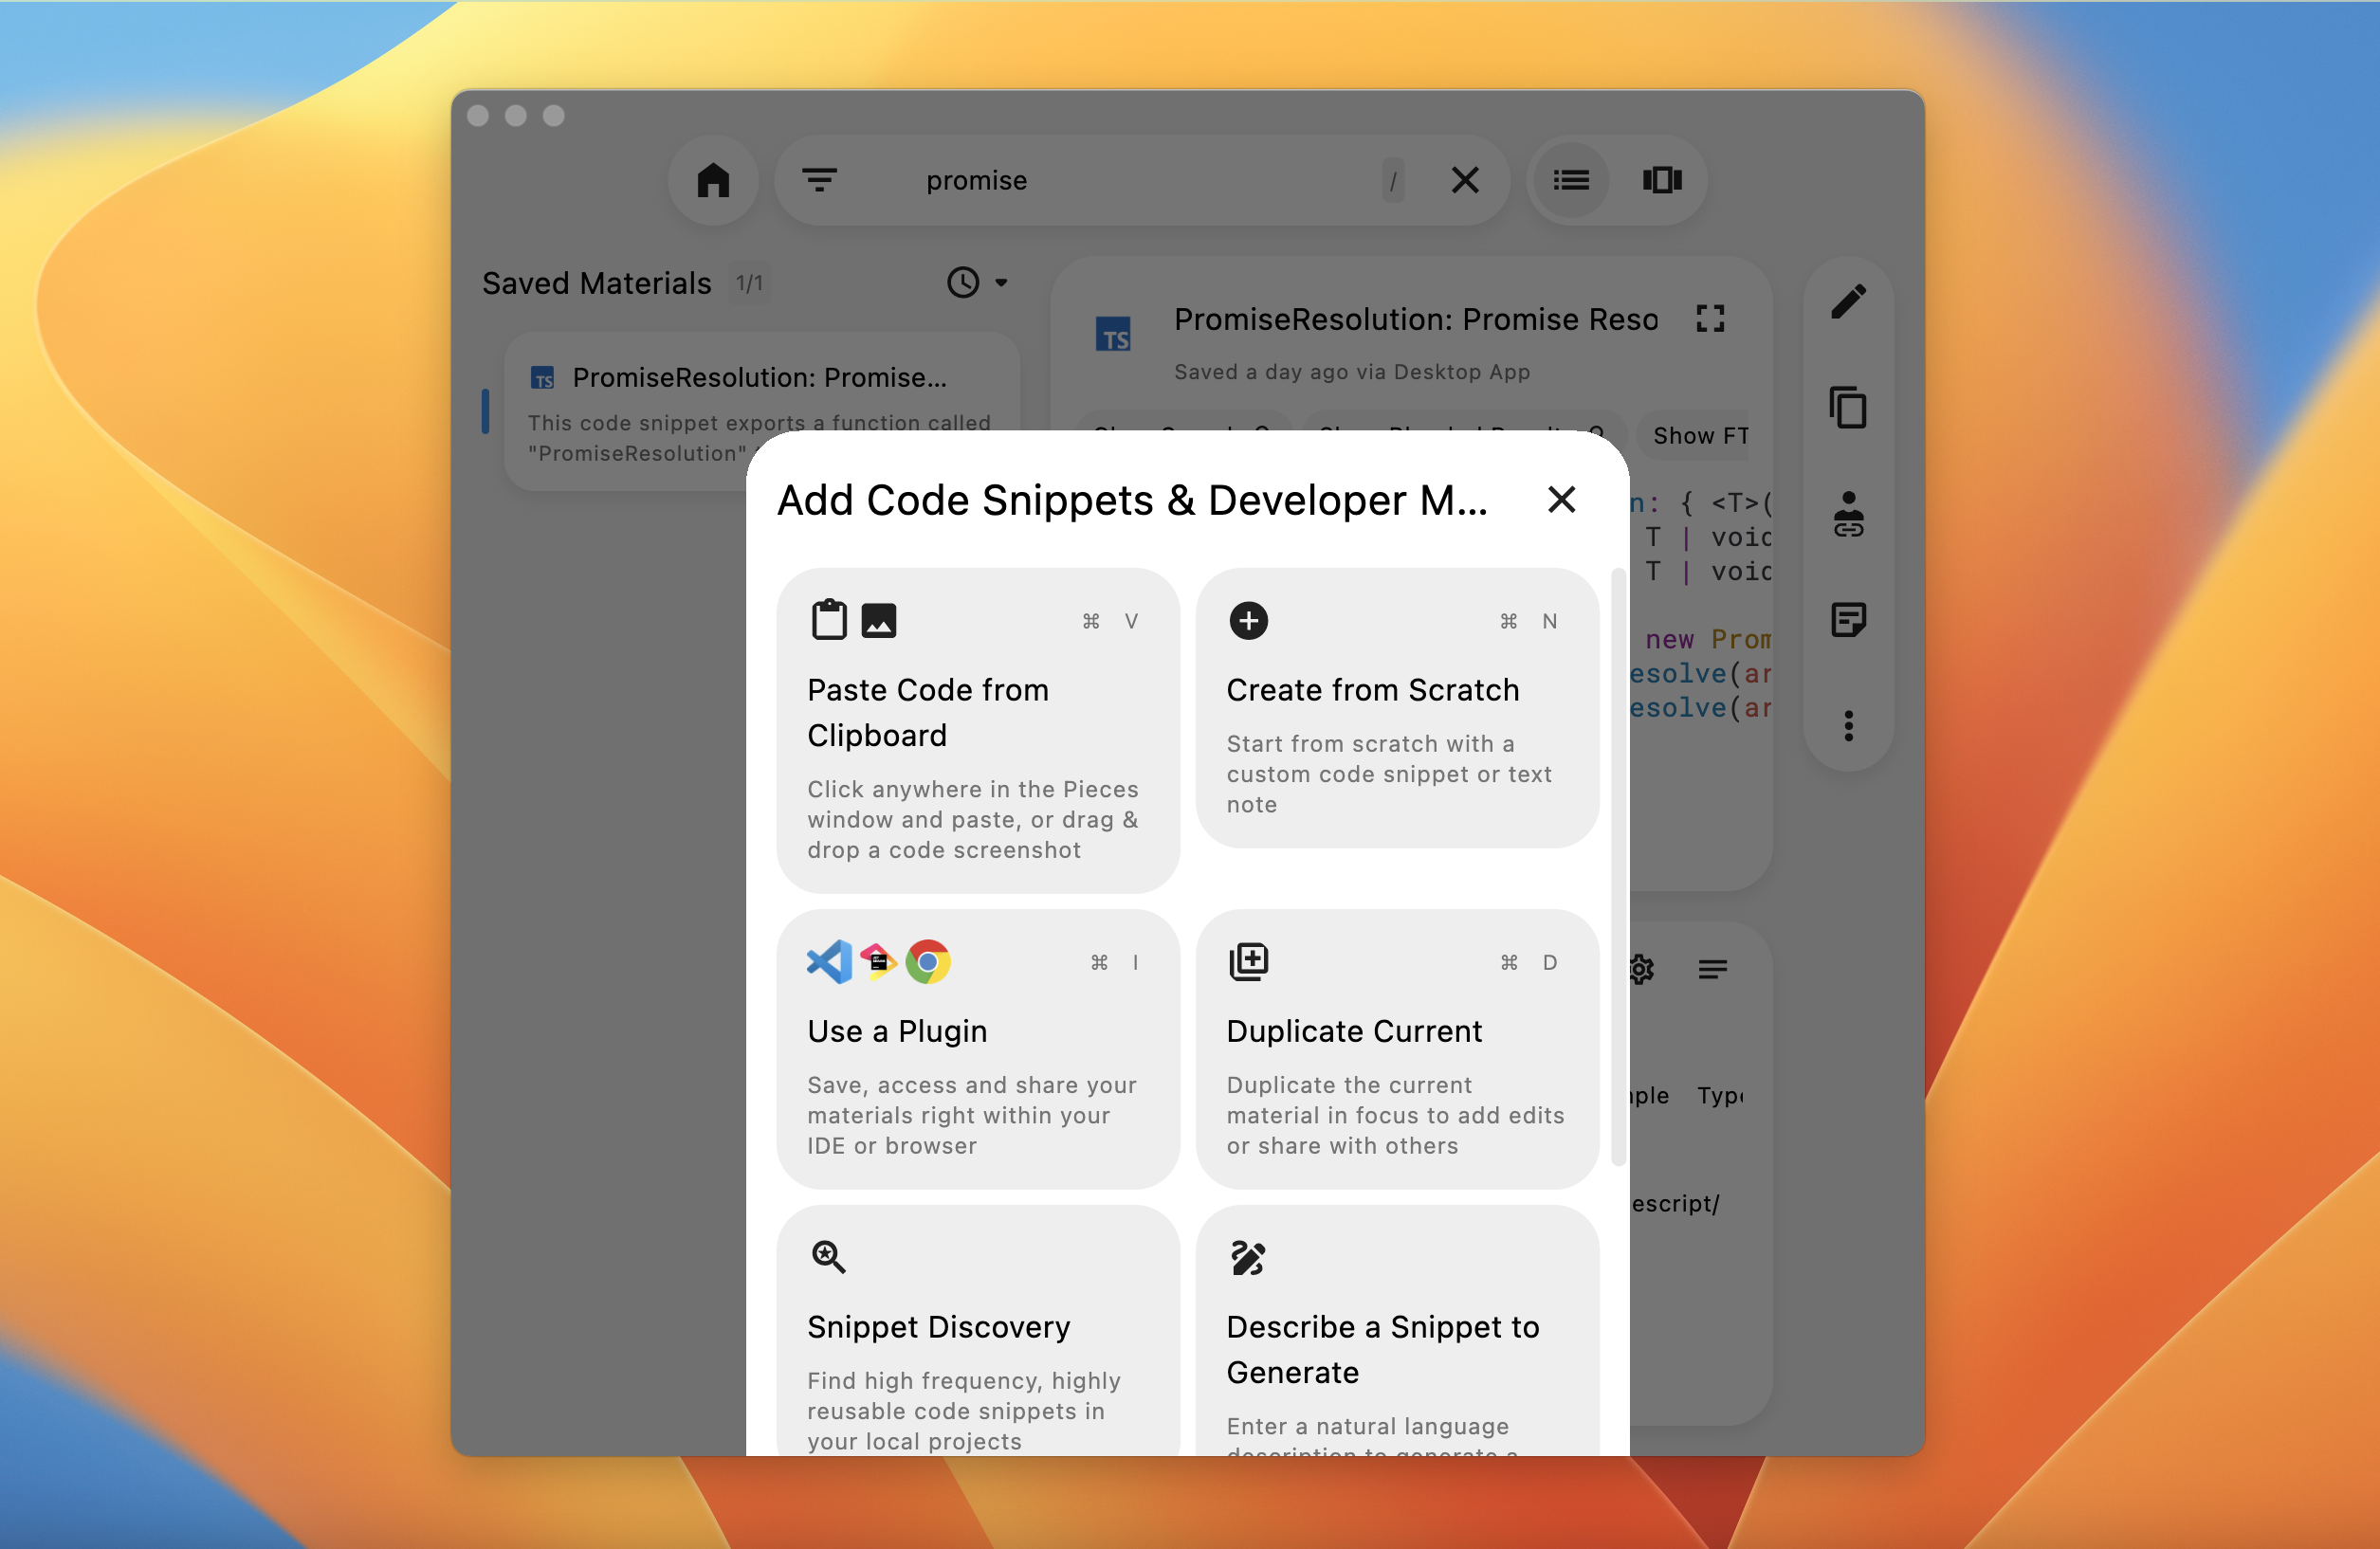
Paste Code from Clipboard
Paste code from your clipboard to save as a new material.
Use a Plugin
Find materials in your Pieces Drive that you saved in other Pieces-enabled plugins and extensions.
Whenever you highlight code and choose “Save to Pieces” (or similar), it syncs directly to your Pieces Drive.

Then, the snippet appears in your Saved Materials List with an auto-generated title and immediate enrichment.
Import GitHub Gists
Import GitHub Gists as individual saved materials in your Pieces Drive.
Each file in the selected Gist becomes a separate snippet in Pieces Drive.
Create from Scratch
Create new saved materials from scratch.
Then, type or paste the content you’d like to save—this can be code or plain text.

You can assign an initial title or let Pieces generate one automatically.
Duplicate Current Material
Make a duplicate copy of a material to fork, revise, or modify.
Decide whether you want an exact copy, or a transformed version (e.g., more readable, more performant, different language, or boilerplate template).

The new snippet appears alongside the old one, preserving all context.
Describe a Snippet to Generate
Use generative AI to generate new saved materials based on your exact requirements.
Type a short or detailed description, e.g., “A basic Node.js HTTP server with URL parsing.”

Pieces produces the snippet automatically, complete with immediate enrichment and classification.
Add Files
Import files from your device to use as context for future workflows.
Browse and pick one or multiple files.

Pieces scans their content, creating separate snippets if it detects multiple distinct code sections—or it may create a single snippet if the file is smaller.
Best Practices & Tips
Find some additional information and quick tips for saving and organizing materials in the Pieces Drive below.