Obsidian Prerequisites
Before installation, you'll need:
PiecesOS: The main engine that powers the Pieces for Obsidian Plugin. Learn more about PiecesOS.
Obsidian: Obsidian is installed on your development machine.
Sign in Required
Pieces requires all users to sign in before using any plugins or extensions. You'll be prompted to authenticate if you haven't already. For help, see our sign-in guide.
Installing the Pieces for Obsidian Plugin
<Image src="https://storage.googleapis.com/hashnode_product_documentation_assets/obsidian_plugin_assets/getting_started/settings_community_plugins_disabled_OBS.png" alt="" align="center" fullwidth="true" />

<Callout type="info">
  Alternatively, find the Pieces for Obsidian Plugin on the <a target="_blank" href="https://obsidian.md/plugins?search=pieces-for-developers">Obsidian Plugin Marketplace</a> and install it manually.
</Callout>
Setting Up PiecesOS
To use the Pieces for Obsidian Plugin, you must install PiecesOS on your operating system.
Follow the specific setup steps below:
Updating
Updating the Pieces for the Obsidian plugin will require a few extra steps.
<Image src="https://storage.googleapis.com/hashnode_product_documentation_assets/obsidian_plugin_assets/getting_started/check_for_updates_button_OBS.png" alt="" align="center" fullwidth="true" />
Onboarding
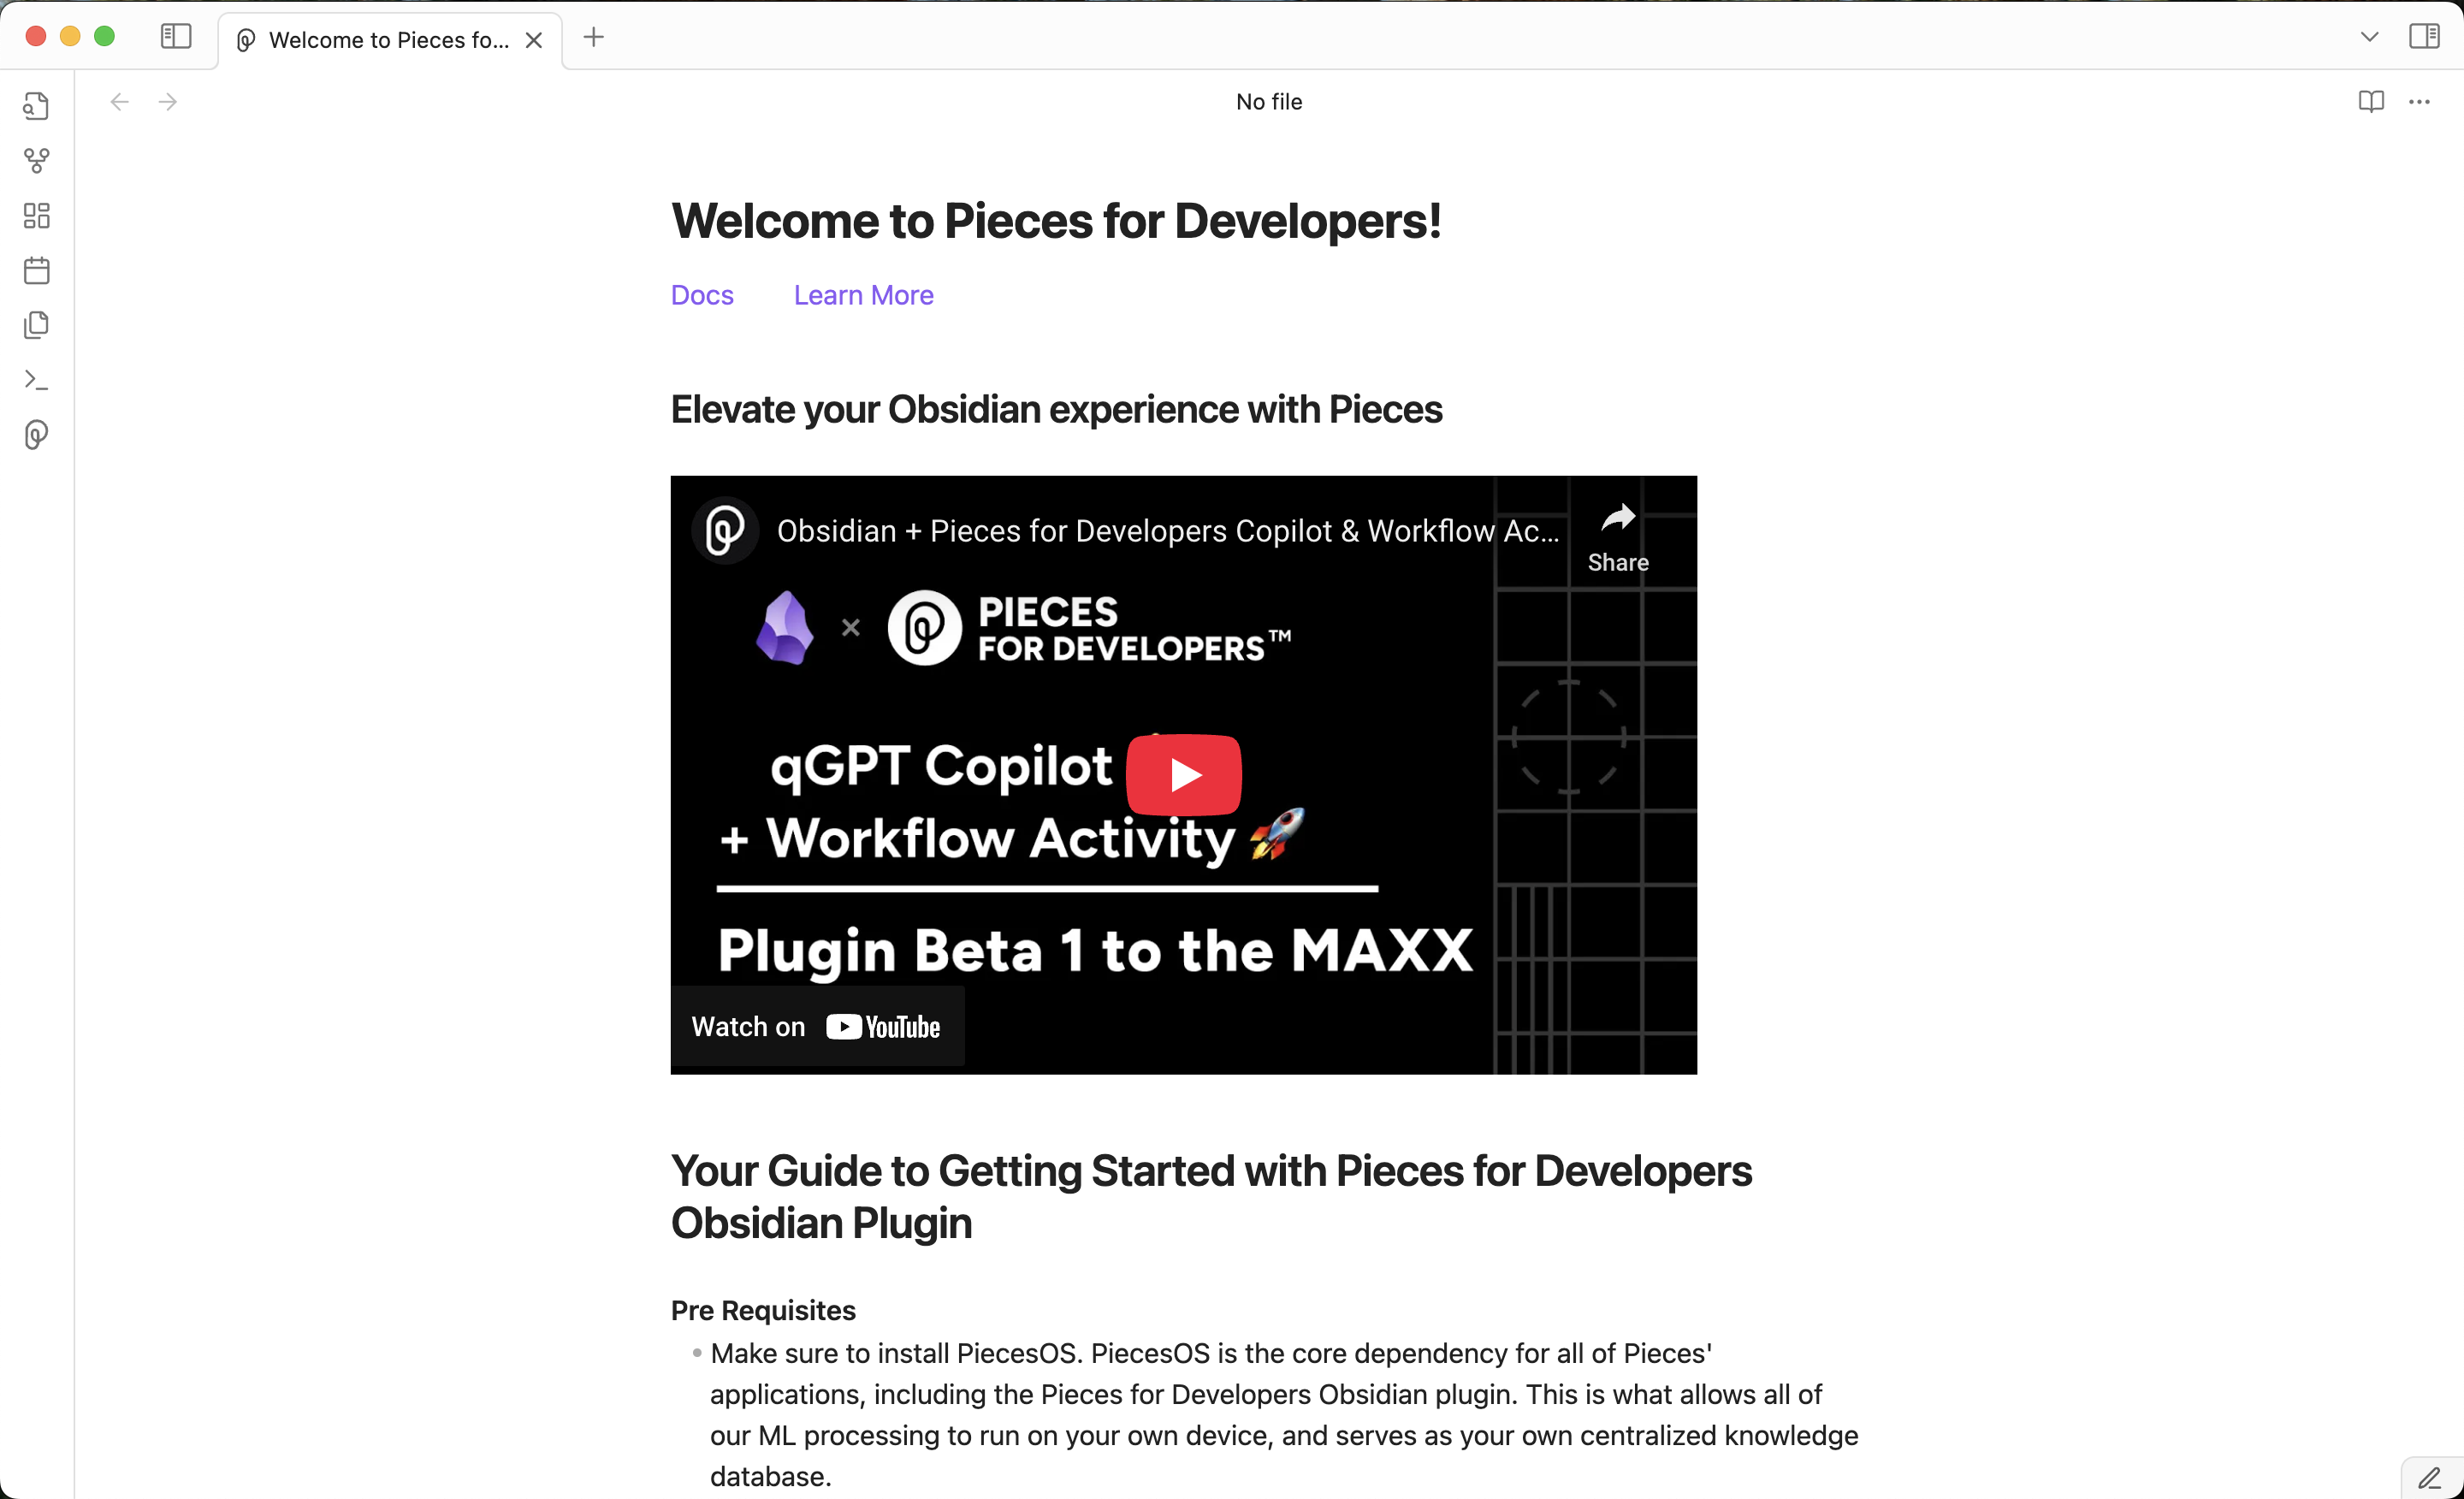
The Pieces for Obsidian plugin includes a walkthrough that guides you through the steps on a single page. This onboarding page will teach you how to save, view, share, and use saved materials and how to make the most of the plugin.

Save Your First Material
This section will walk you through saving your first meaningful material, including a helpful GIF section and a nice walkthrough.
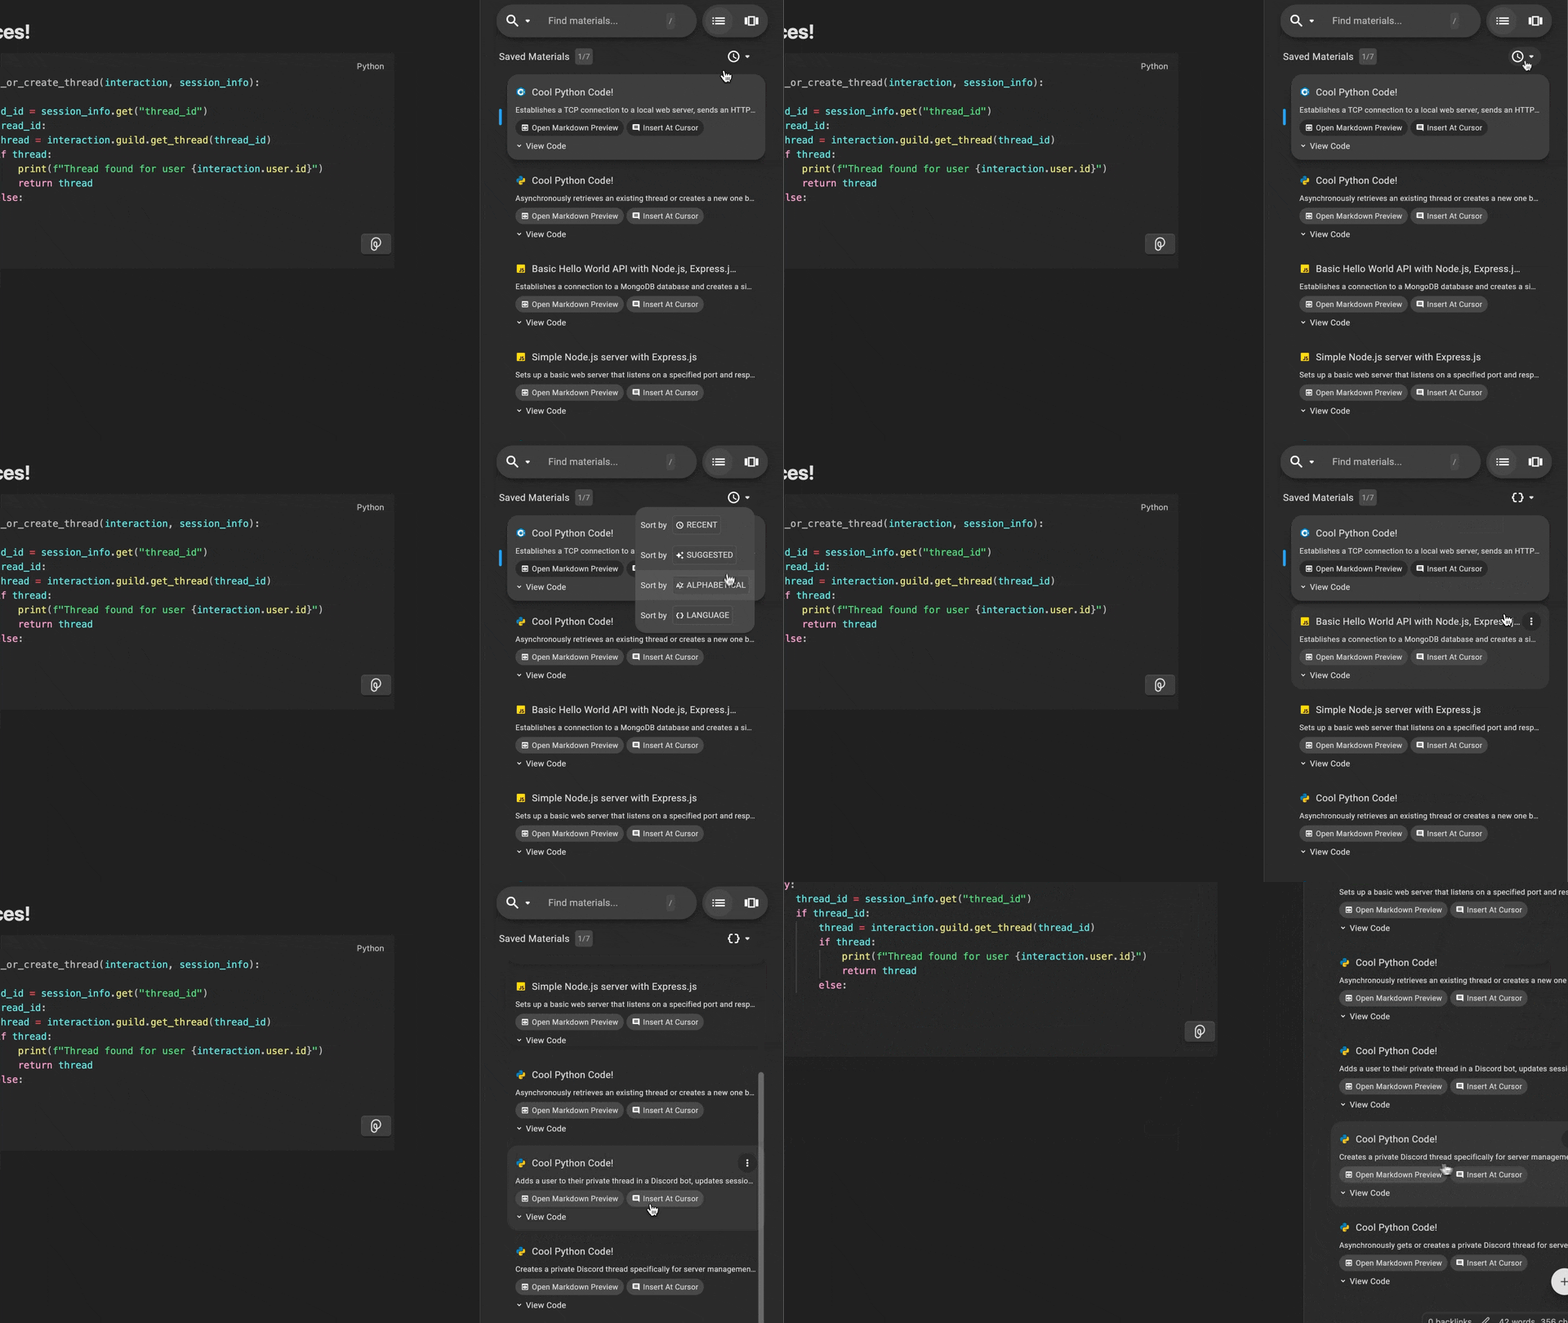
Find and Use your Materials
In this section, you'll learn how to find materials within Pieces and use them in Obsidian. You can also click the Pieces logo at the top right of the application to open Pieces Drive.

Share your Materials
Sharing materials is a key feature of PiecesOS. It lets you share any new or previously saved materials with anyone, anywhere in the world, without the recipient needing an account.
Discover New Materials
Pieces will automatically offer highly relevant and reusable materials directly in Obsidian. This section explains how you can do it yourself. You can also click the Pieces icon at the top right of your Obsidian editor and select the {} icon to switch to your suggested snippets section.
Enrich your Code Blocks
Pieces also automatically generates tags, titles, descriptions, and links to other similar code snippets or materials with a single button press! To try it out, click the Pieces button embedded in your code blocks and then click on the enrich icon.
More Resources
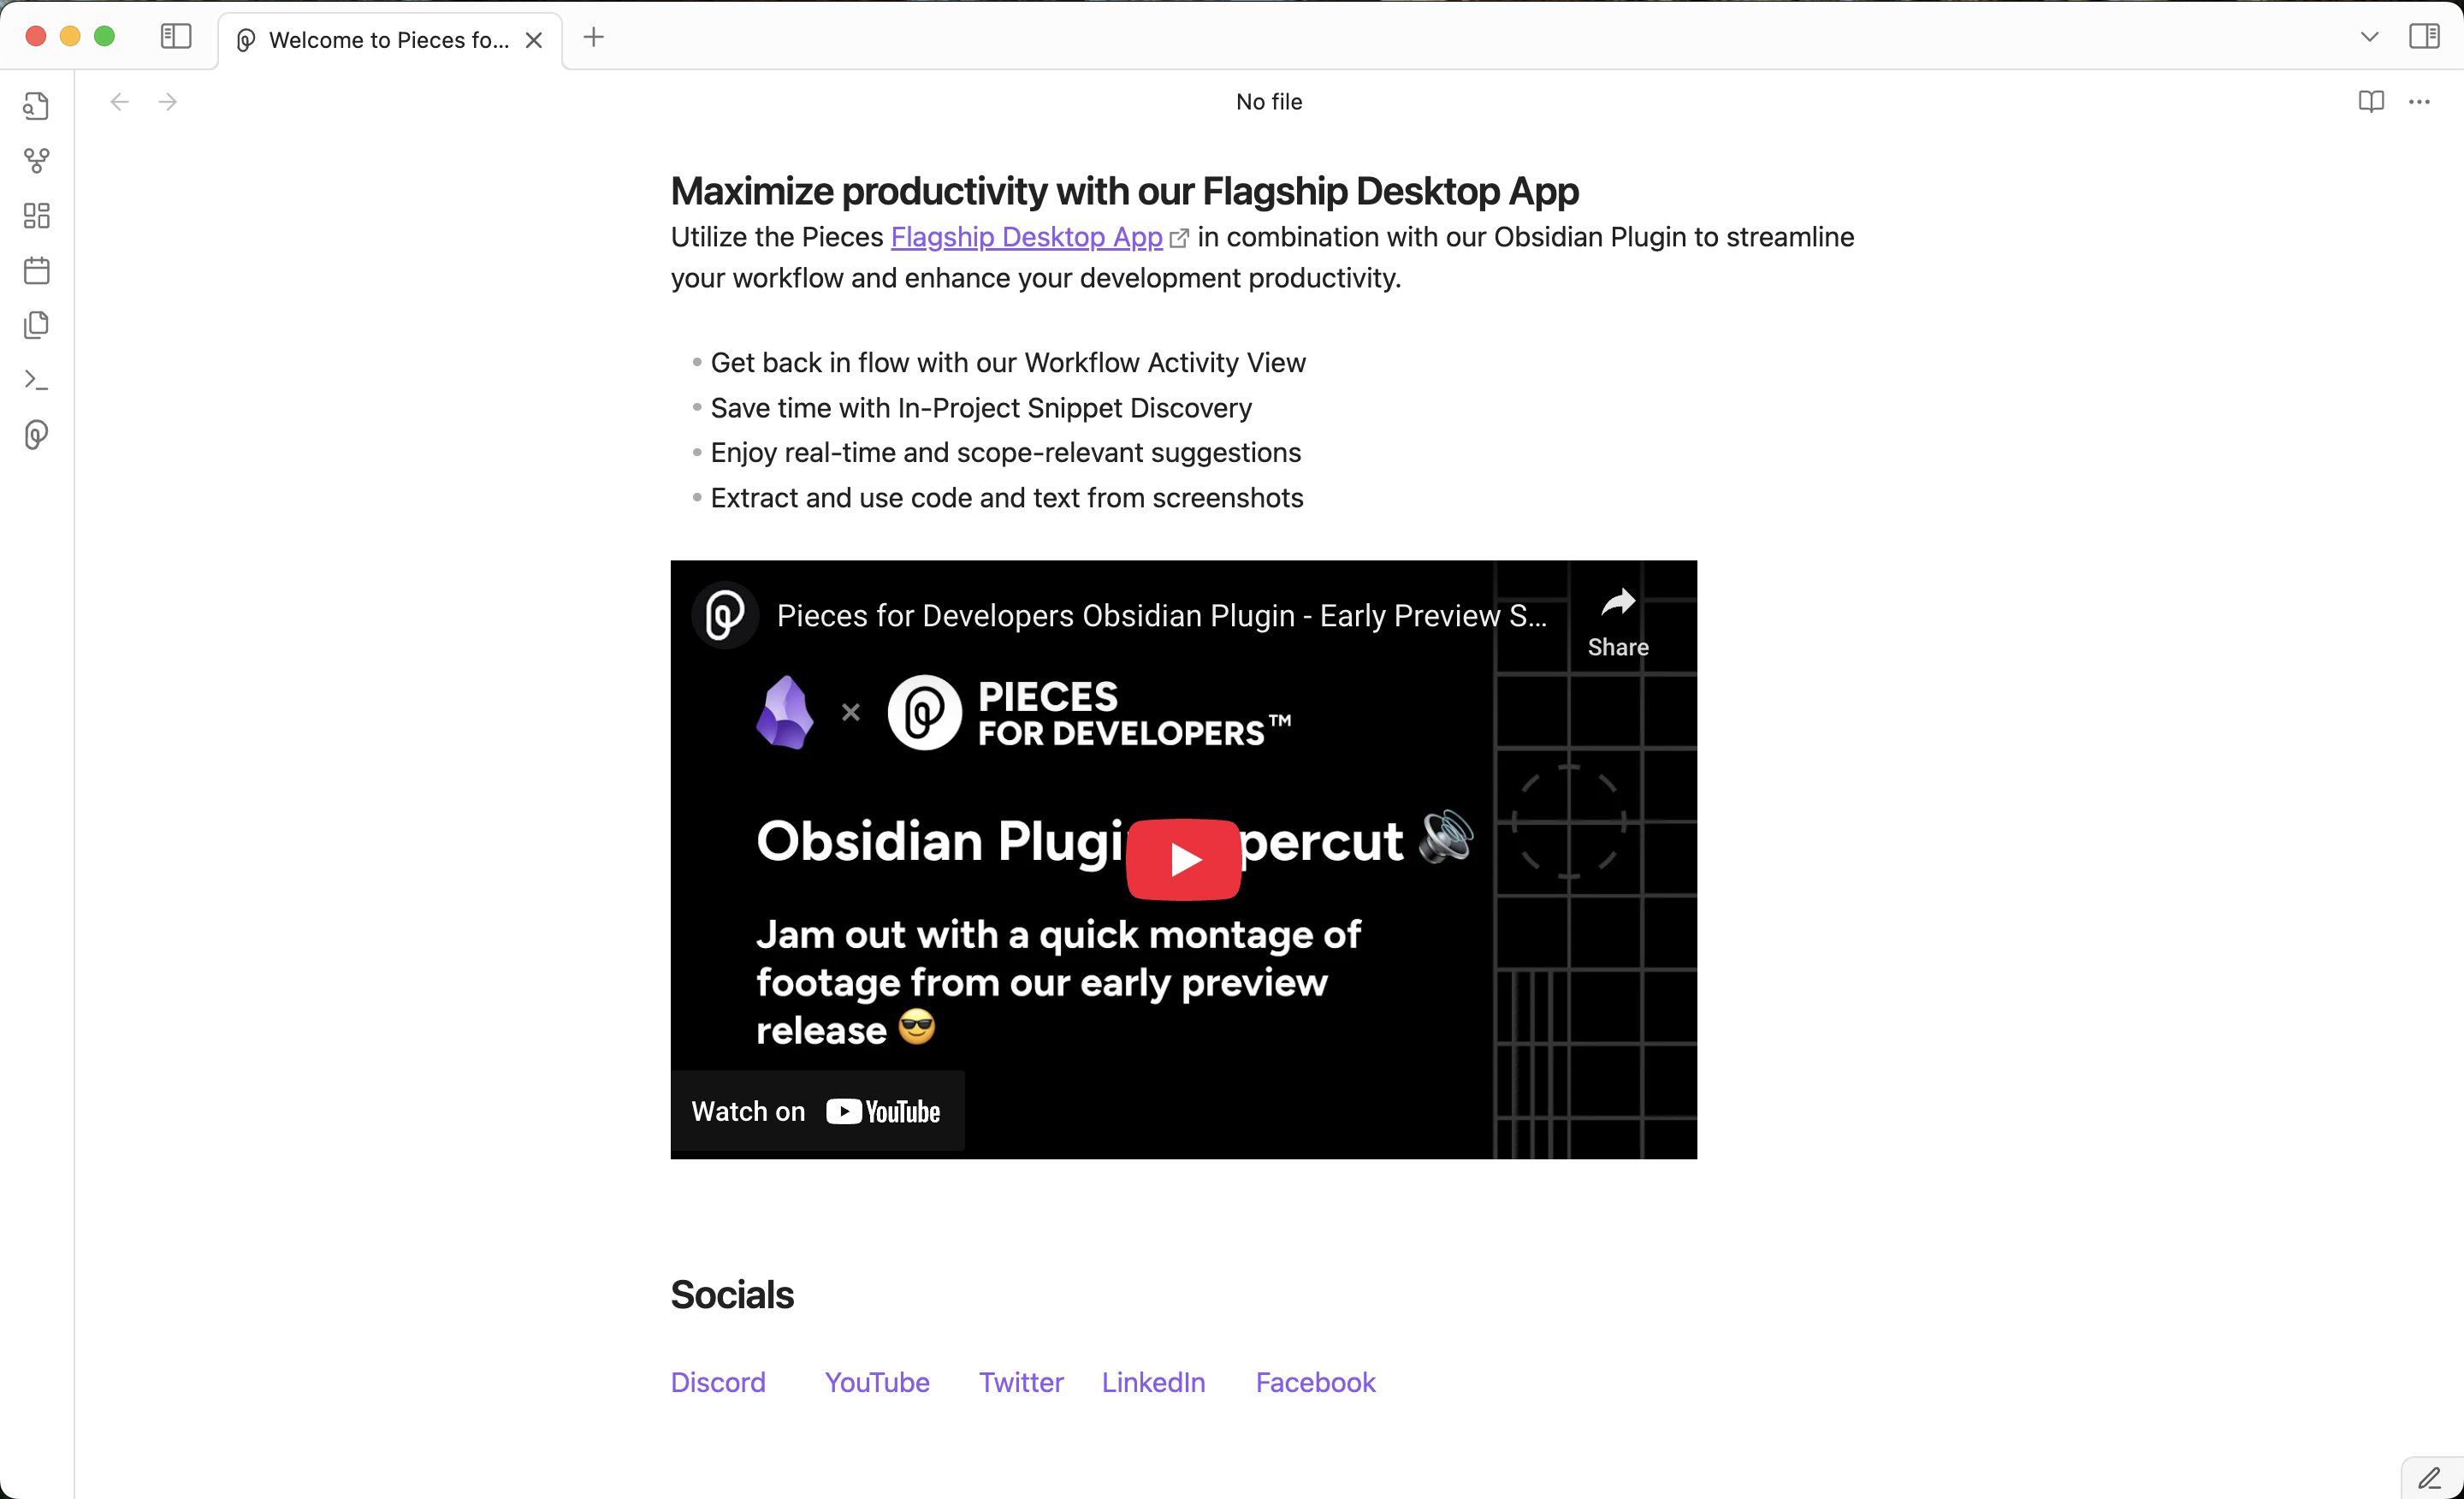
Pieces works with you to ensure the best possible experience. You can find Pieces’ social media at the bottom of the onboarding to connect with us for support or to share any mind-blowing moments you’ve encountered along your journey!

Uninstalling
<Image src="https://storage.googleapis.com/hashnode_product_documentation_assets/obsidian_plugin_assets/getting_started/uninstall_button_OBS.png" alt="" align="center" fullwidth="true" />