Prerequisites for Visual Studio
Before installation, you'll need:
PiecesOS: The main engine that powers Pieces for Visual Studio functionality. Learn more about PiecesOS.
Visual Studio: Visual Studio is installed on your development machine.
Windows: Visual Studio is no longer available on macOS and is exclusively designed and maintained for Windows devices.
Sign in Required
Pieces requires all users to sign in before using any plugins or extensions. You'll be prompted to authenticate if you haven't already. For help, see our sign-in guide.
Installation
<Image src="https://storage.googleapis.com/hashnode_product_documentation_assets/visual_studio_extension_assets/get_started/hovering_install.png" alt="" align="center" fullwidth="true" />
Alternatively, you can download the .VSIX installer from the Visual Studio Marketplace and install it manually.
Setting Up PiecesOS
PiecesOS is a background service that runs on your computer. It handles local data processing and manages custom machine learning (ML) models used in Pieces software.
To use the Pieces for Visual Studio Extension, you must install PiecesOS on your operating system.
Click below to download PiecesOS for Windows.
Updating
The Pieces for Visual Studio Extension will automatically update when a new version is available.
Pieces Cloud / Pieces Account
Connecting to the Pieces Cloud is optional. However, it provides additional features like data backups, shareable links, and more. You can enjoy the main functionalities of Pieces without an account.
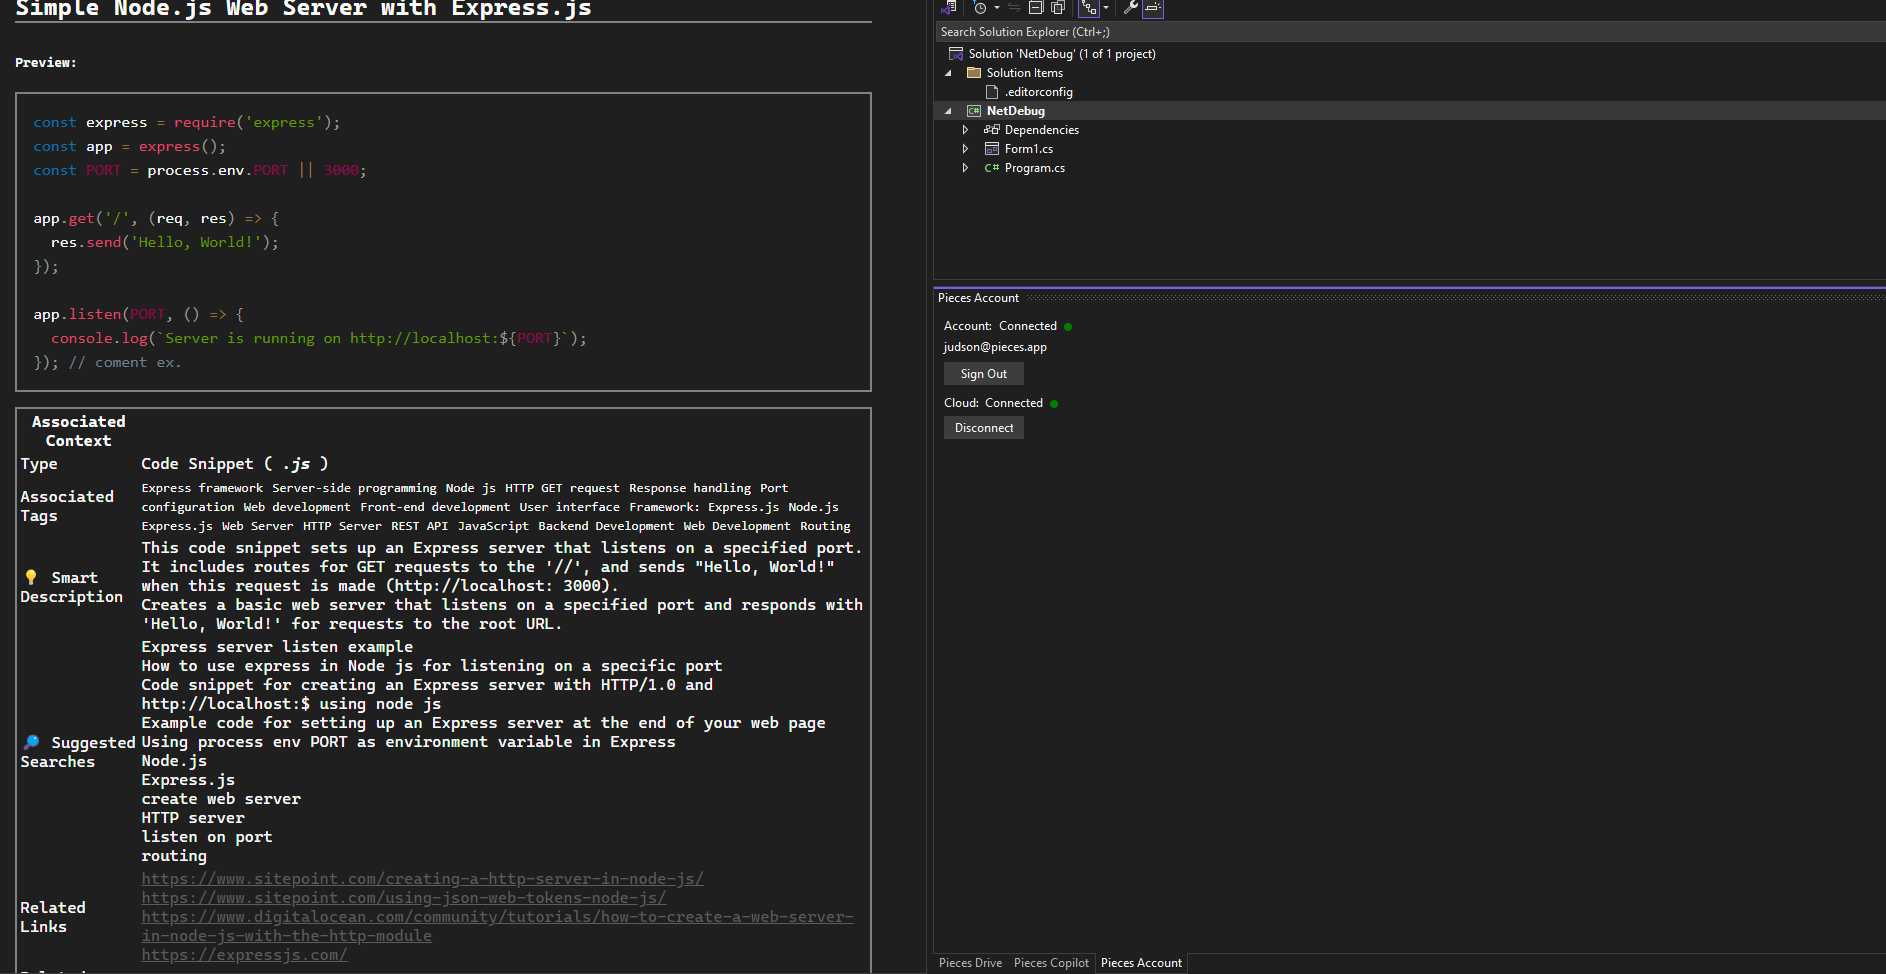
You can log into your account and connect to the Pieces Cloud from the Pieces Account view, a tab which can be found next to the Solution Explorer view in your IDE’s sidebar.

From here, you can click Sign In / Sign Out under the Account section, or Connect / Disconnect under the Cloud section.
Connecting your Pieces account and personal cloud allows you to access features like data backups and shareable links, but it is not required.
Onboarding
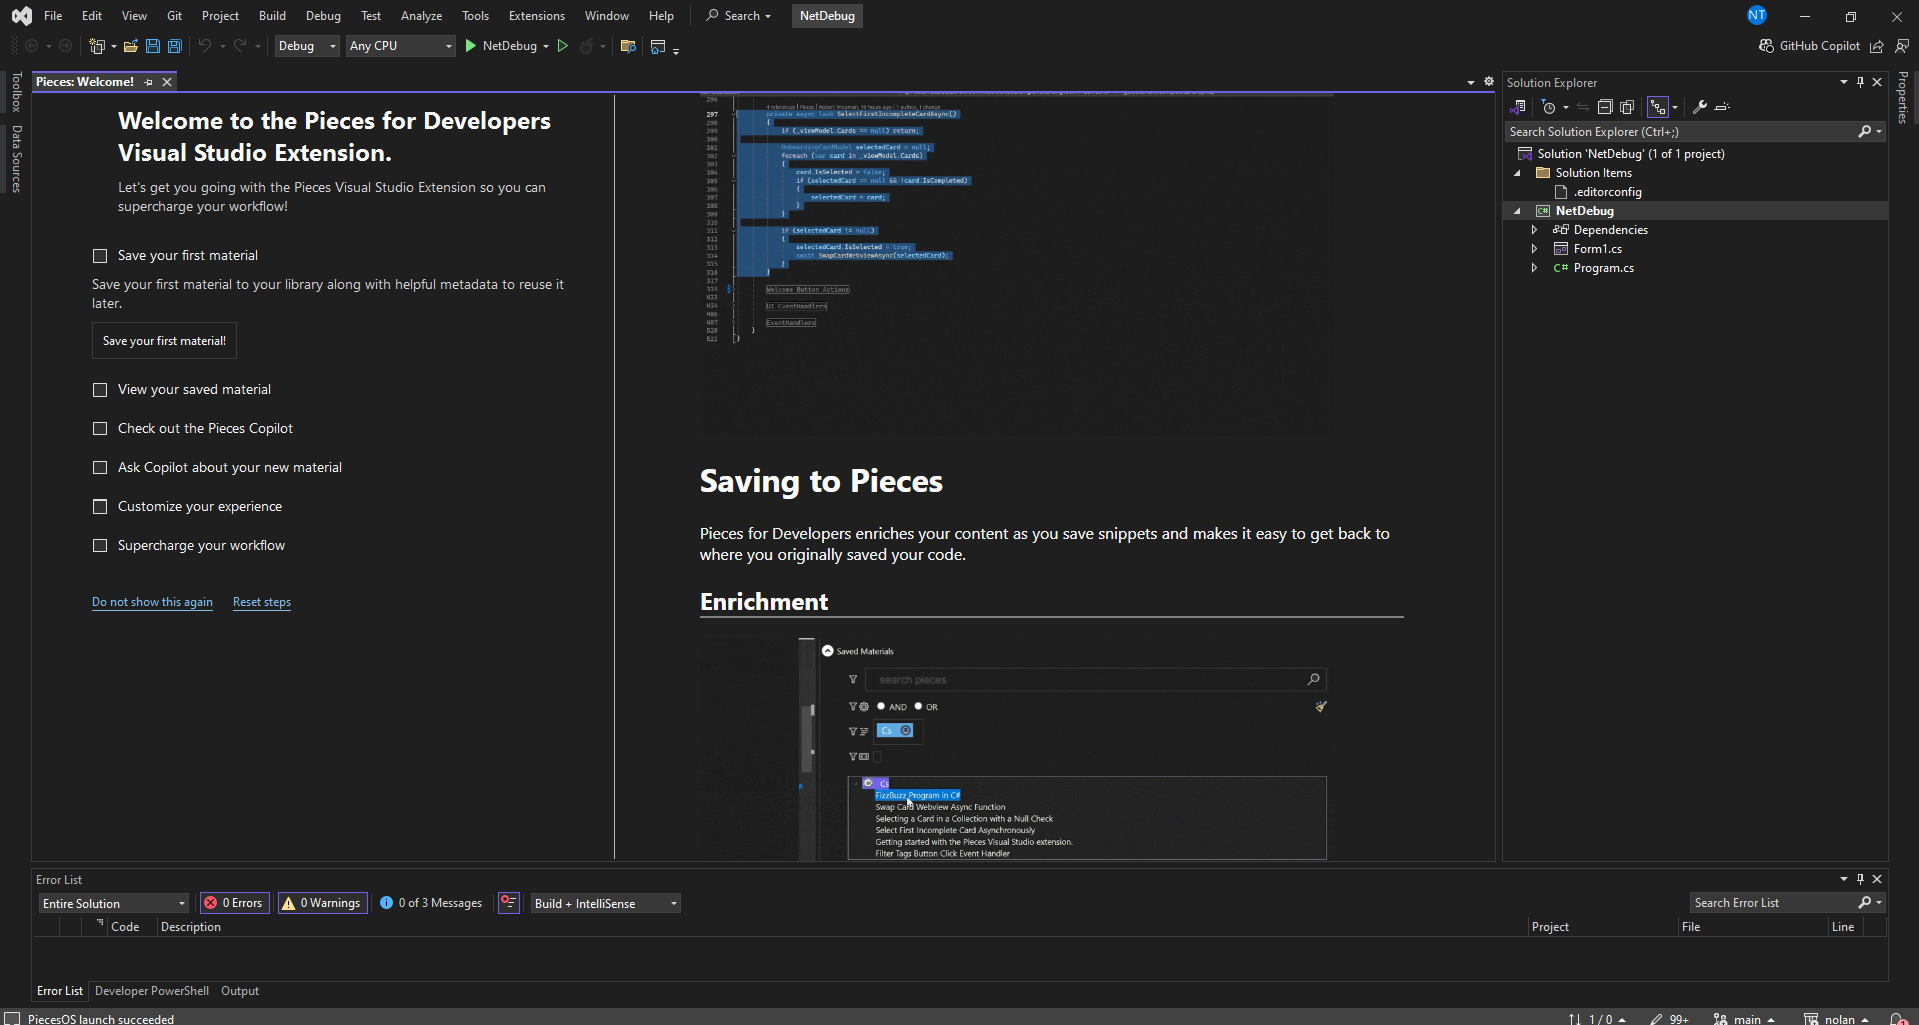
The Pieces for Visual Studio extension has an interactive walkthrough that shows all of the steps in one panel. This onboarding page guides you on saving, viewing, and using saved materials, as well as how to get the most out of the Pieces for Visual Studio extension.
Save Your First Material
Click Save your first material, and Pieces will open the Pieces Drive to save a sample snippet, showing you how it works.
You'll see the snippet immediately in the Saved Materials list. This demonstrates how Pieces captures items and keeps them organized for easy reuse.

View Your Saved Materials
Click View Your Saved Materials, and Pieces Drive will open to your Saved Materials, displaying any snippets you saved earlier along with the new snippet generated above.
Check Out the Pieces Copilot
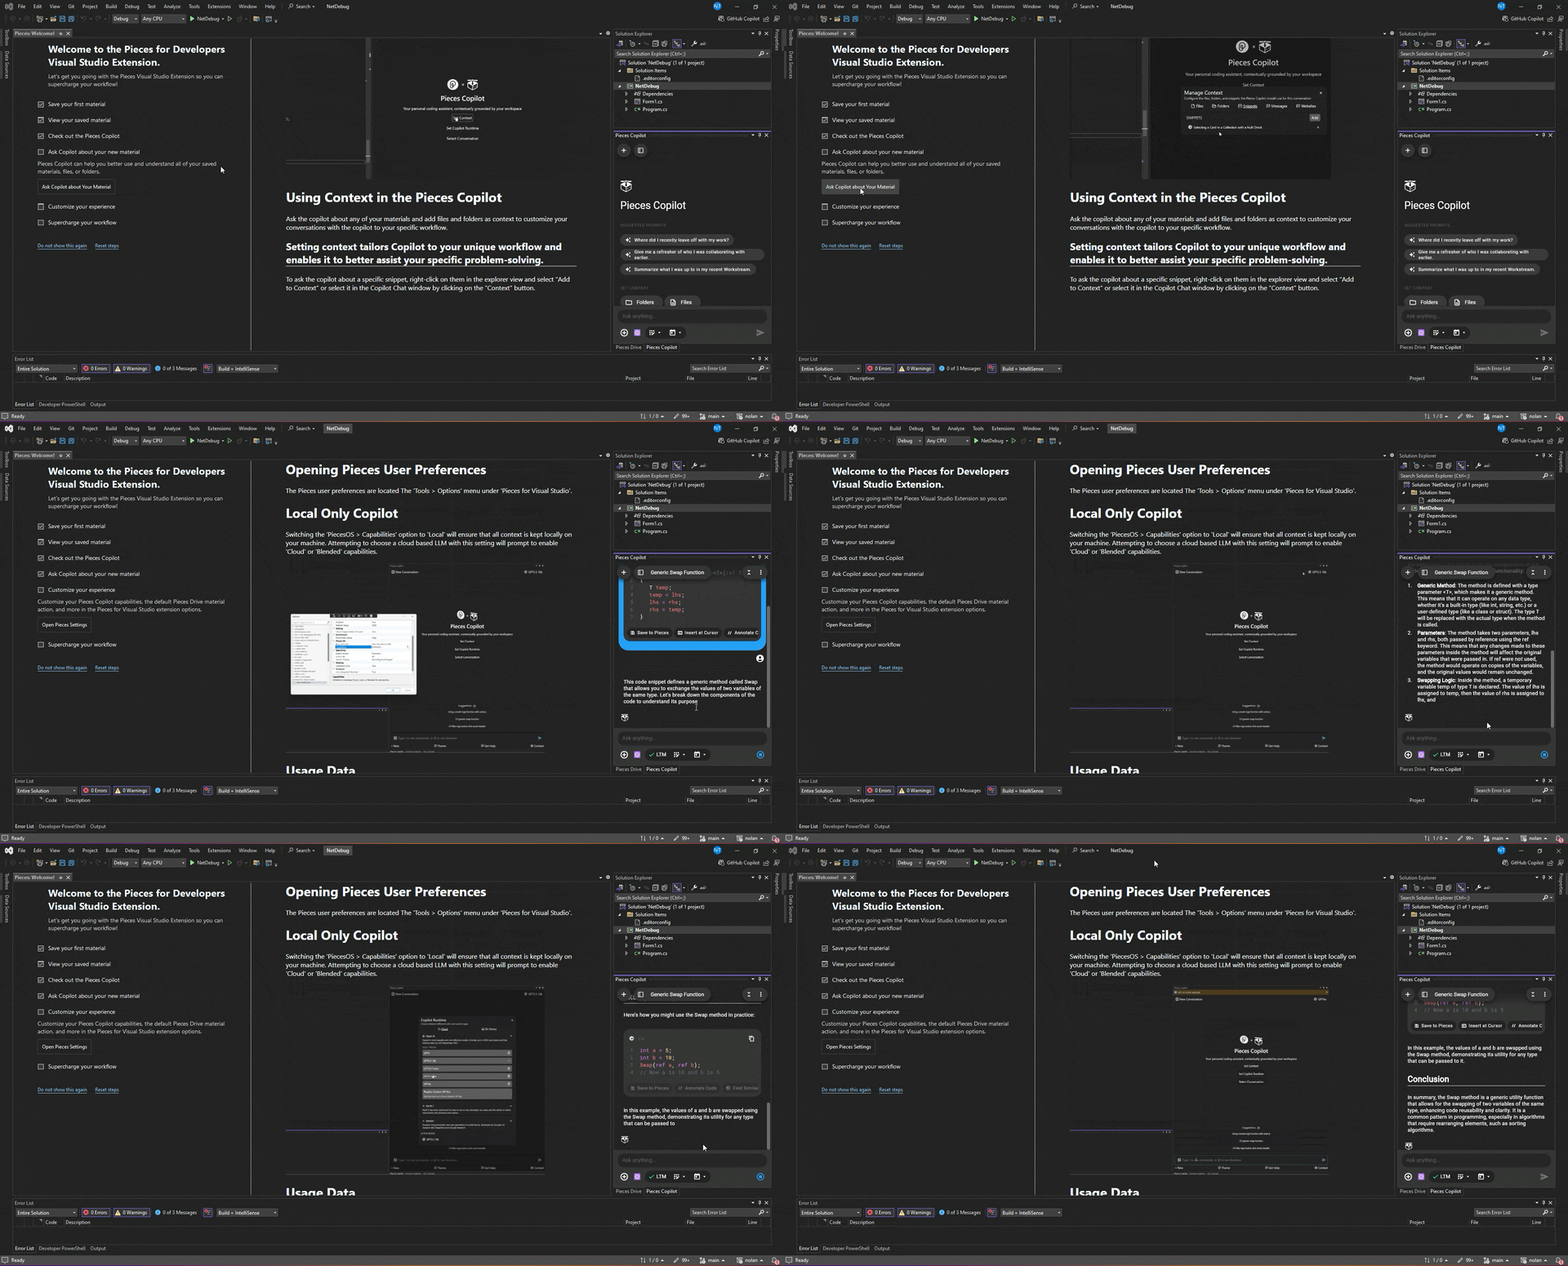
Click Open Your Pieces Copilot to open the Pieces Copilot side panel. In the Pieces Copilot, you'll find suggested prompts, options to set context from folders or files, and quick options to access your saved materials.
Once you open the Copilot, the onboarding process is complete. You're ready to ask questions about your code, document it, or refactor a selected material—all within the Visual Studio interface.
Ask Copilot with Your New Material
Click Ask Copilot about Your Material, and Pieces will add the new snippet to the Copilot chat with the sample prompt “What does this code do?”. Press Enter to send your snippet to the Copilot, and you'll get an explanation or suggestions about the snippet.

Customize your Experience
This section allows you to Open Pieces Settings where you’re able to customize the way Pieces work in Visual Studio. You can view the options here.
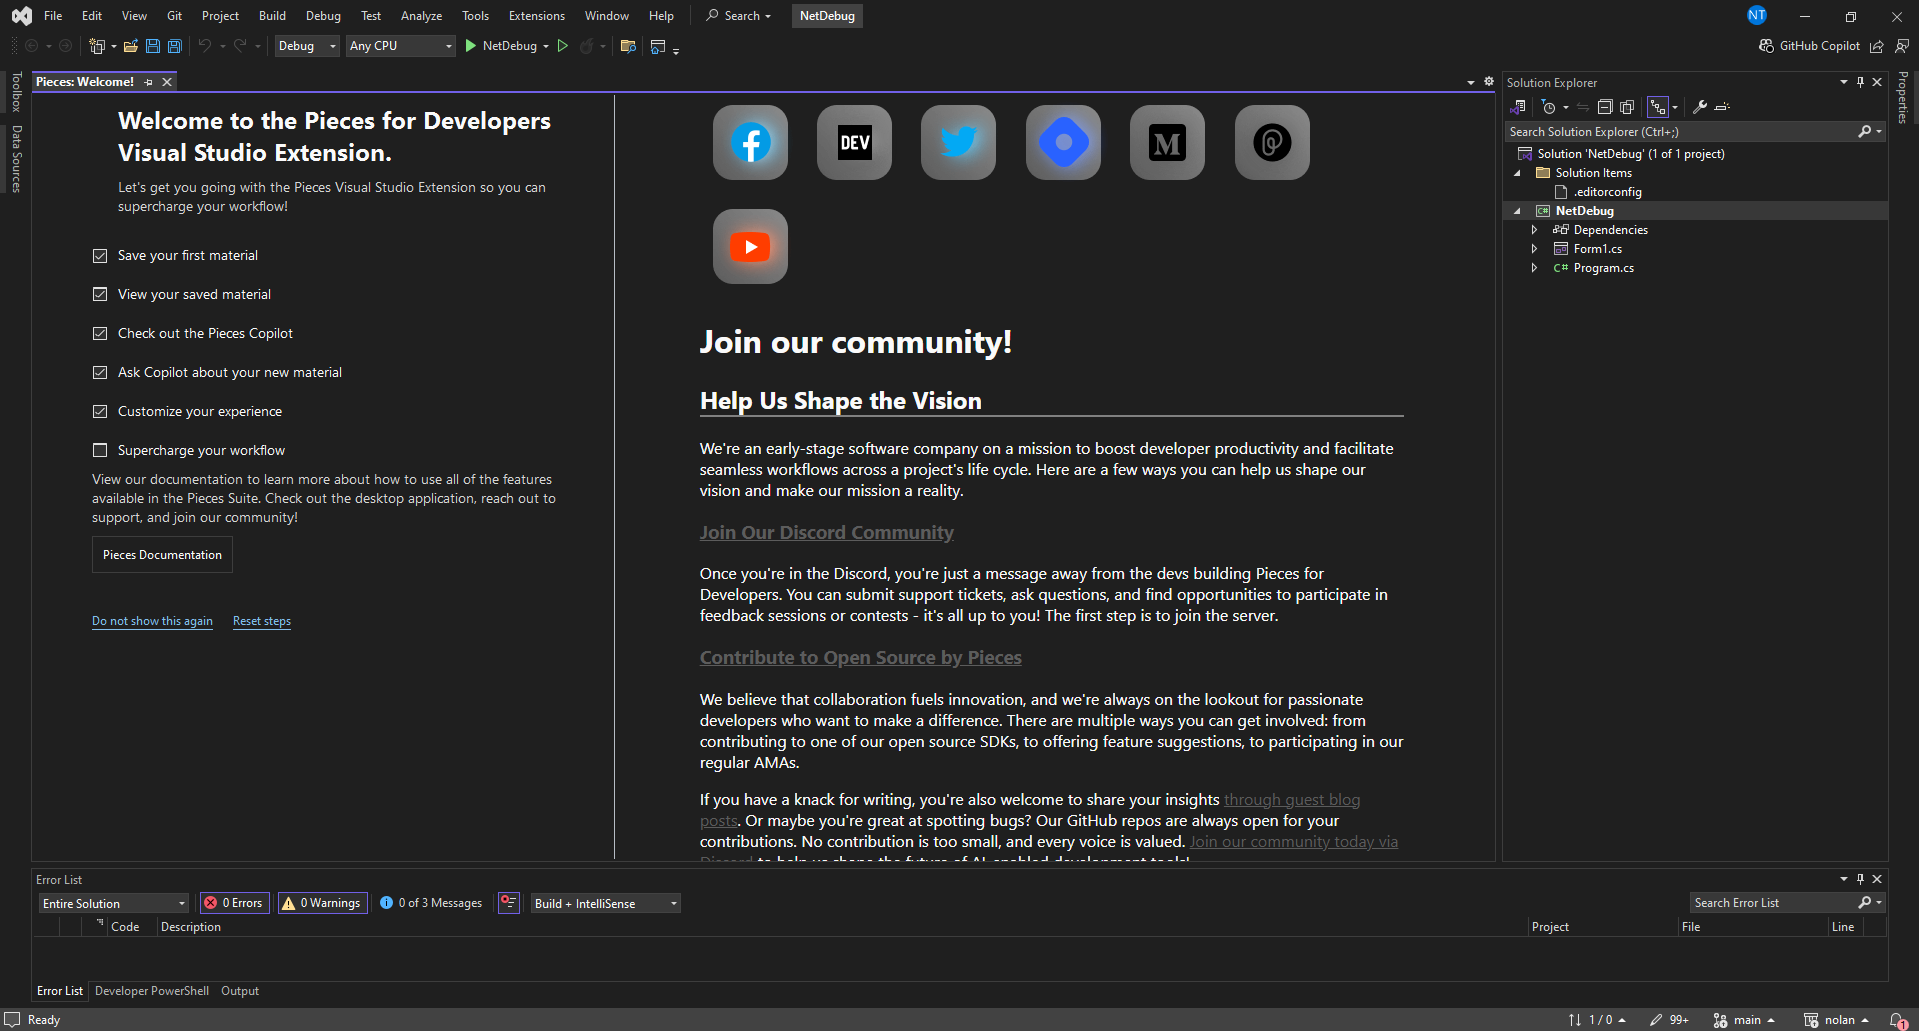
Supercharge Your Workflow
Click Pieces Documentation to access our complete guide, which includes advanced tips, setup instructions, and best practices. Select Reset Steps to revisit any onboarding step at any time.

Uninstallation
To uninstall the Pieces for Visual Studio Extension, follow these steps:
<Image src="https://storage.googleapis.com/hashnode_product_documentation_assets/visual_studio_extension_assets/get_started/visual_studio_extension_in_ide.png" alt="" align="center" fullwidth="true" />